I’ve done some previous posts about starting a group planting but posting this year’s offer of seedlings https://shibuibonsai.com.au/?p=2338 prompted me to put together the group shown here.
I’ve found bonsai groups a great way to get a reasonably acceptable bonsai specimen in just a few years. No waiting for decades for the trunk to grow or branches to develop. Lots of trunks together help to provide the visual bulk and canopy so your group can look presentable relatively quickly.
Bonsai groups can be any size and have any number of trees but more trees together tends to look better sooner.
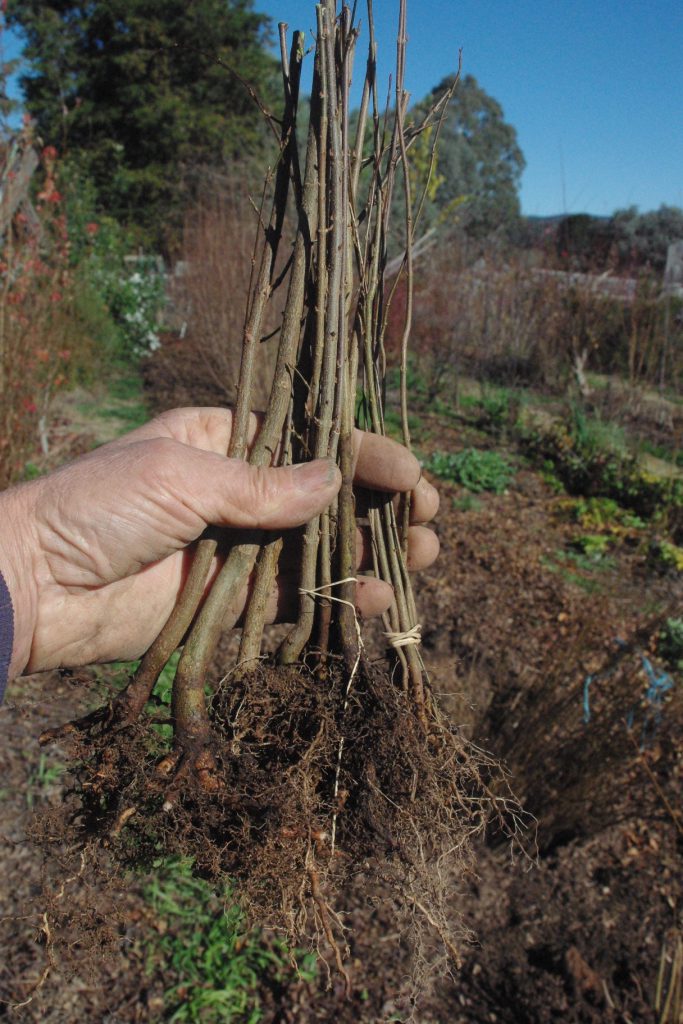
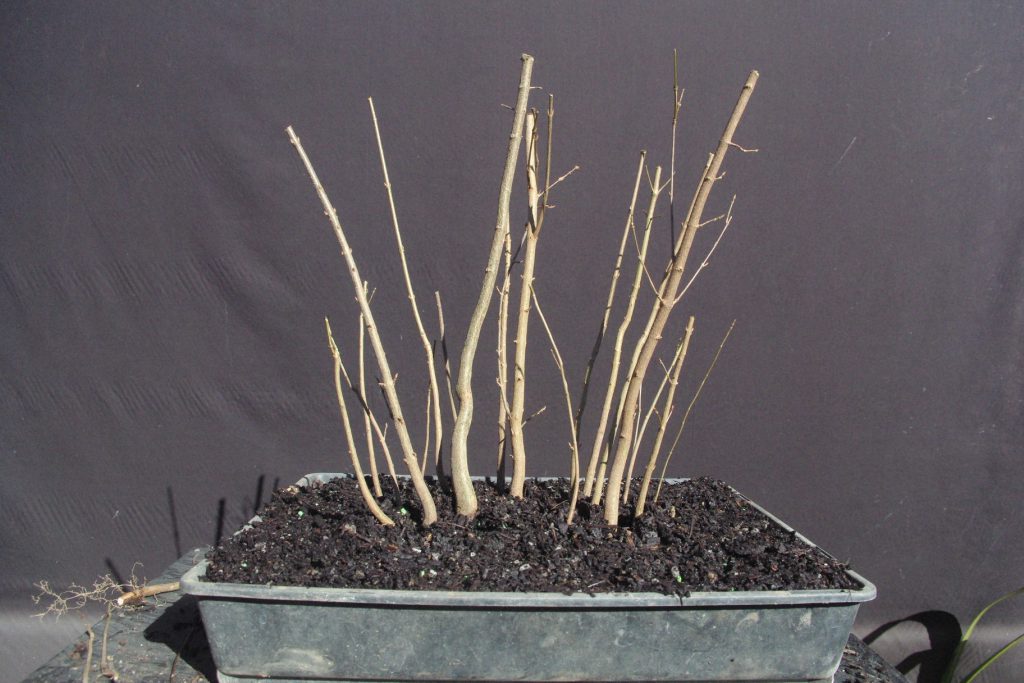
I’ve started here with the group pack shown in the previous post. Shibui Bonsai forest packs consist of a mix of trunk sizes. If you are finding your own seedlings try to get a similar range of trunk thicknesses – a few thicker ones and a range of thinner ones to fill out the forest. there’s around 20 trees in the forest pack but you don’t have to use all of them. Spares can be used for other projects.
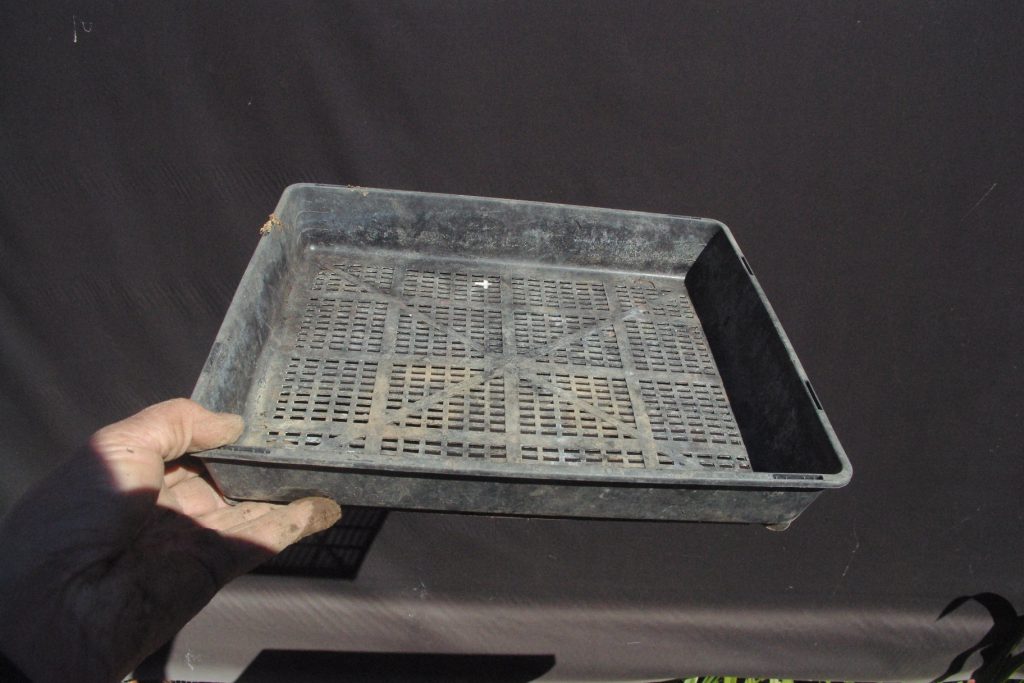
As well as the seedlings you’ll need a tray. I use these nursery seedling trays because they are easy to get and a convenient size, durable and easy to get but any convenient container will do. For different sized groups consider an appropriate sized tray. Your container does not need to be as shallow as this. My older trident groups were established and grown on in much deeper polystyrene fruit boxes. Larger, deeper containers will allow your trees to grow and develop quicker if you want to speed up evolution.
Start by sorting an root pruning the seedlings if they have not already been done. tridents are really resilient and pruning thick roots short will help promote more finer and surface roots vital to good bonsai.
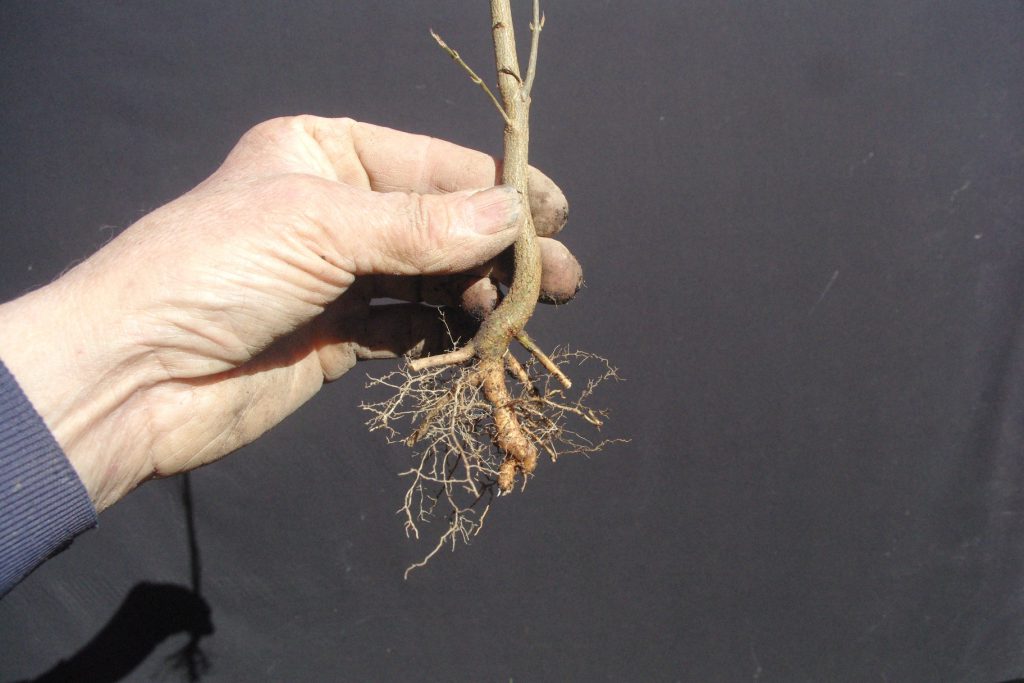
before root pruning 

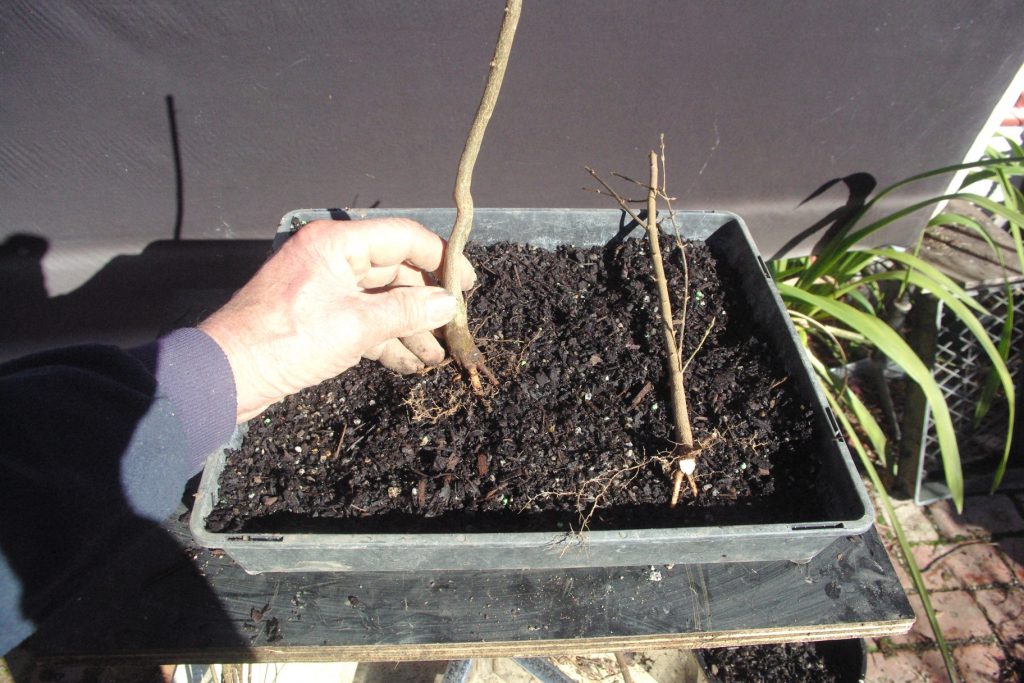
The thickest, tallest tree becomes the focal point for the group. Usually placed around 1/3 from either left or right and just in front of the mid-line front to back. I’ve gone with a 1/3 left placement this time as shown.
Now add the other thicker trunks. This is where you can add your own creativity to the group but they will generally be towards the front and closer to the middle than the edges. It is easier if all your trees are relatively straight but if you have trunks with some movement you will also need to try to create harmony by arranging the bends so they look similar.
Pay particular attention to spacing. I’ve found this is particularly difficult as we seem to have a natural tendency to plant things equally spaced so I have to think carefully and force myself to put some trunks quite close together to create a random spacing within the group of trunks. intertwining roots of adjacent trees is no problem but if your trees have lots of roots don’t be frightened to cut roots on one side so you can get the trunks close.
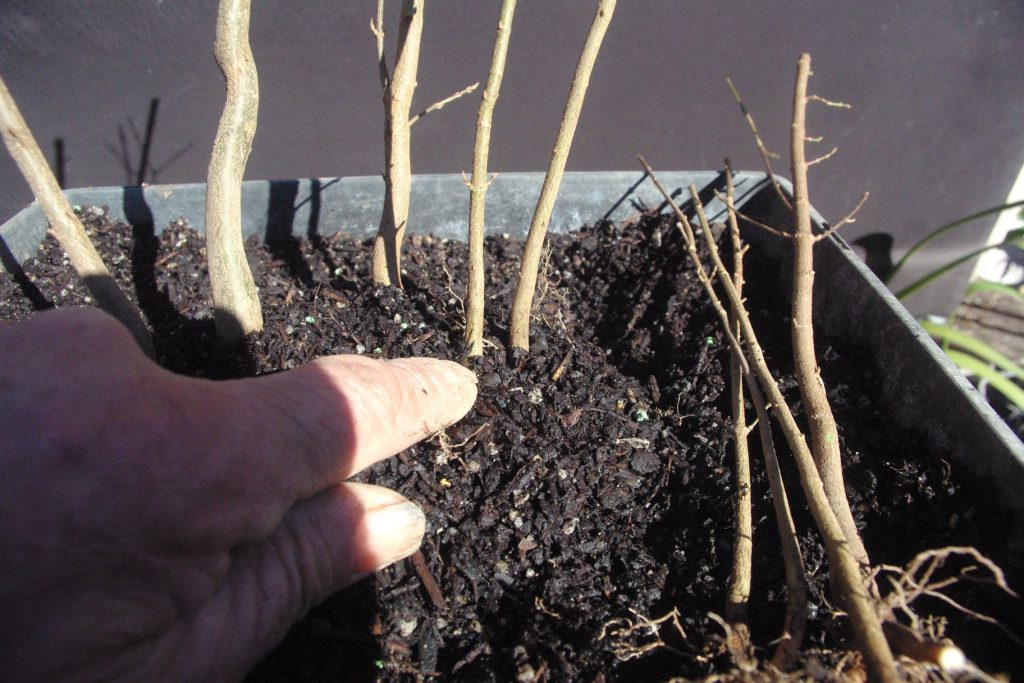
Keep adding trunks with smaller ones mostly toward the outer edges and back. Thinner trunks at the rear helps build an impression of greater depth and size. If some of the trees have branches try to place those so the branches grow into spaces or out of the group. That won’t always be possible so keep branch cutters handy to remove any that are growing close to other trees.
Keep checking that you are not making rows of trees. It seems to be another human trait to line things up but nature is more random so if you see rows forming just move trunks a little to break up lines.
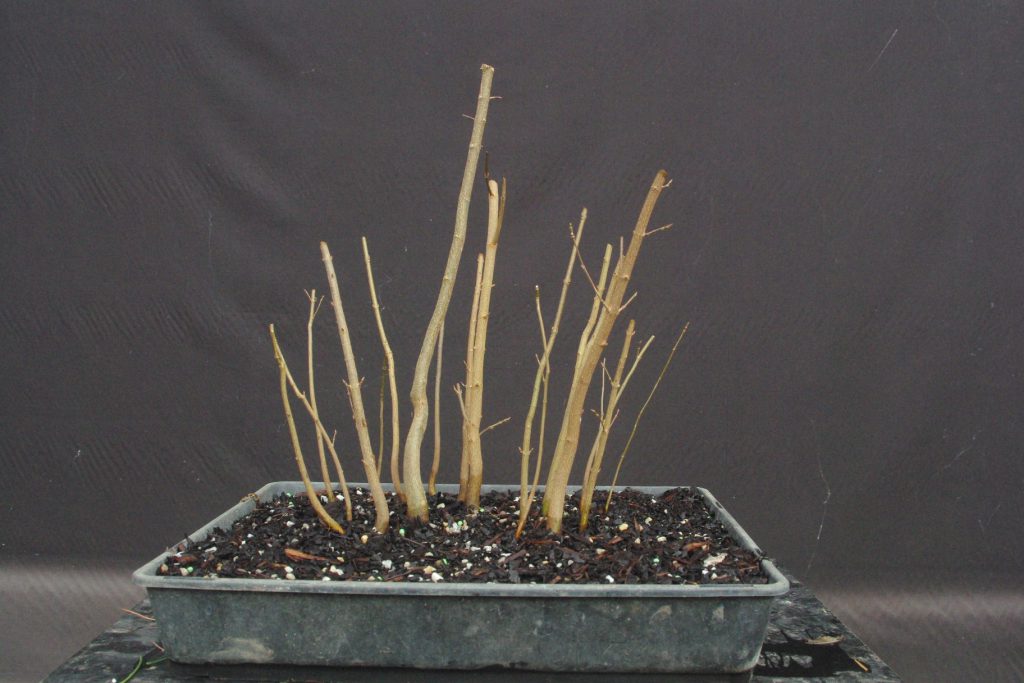
Check from the side as well. Look for lines forming and check that all the trees are standing at a similar angle to create harmony. I often need to add more potting soil to prop up trees as they don’t have many roots for support yet.
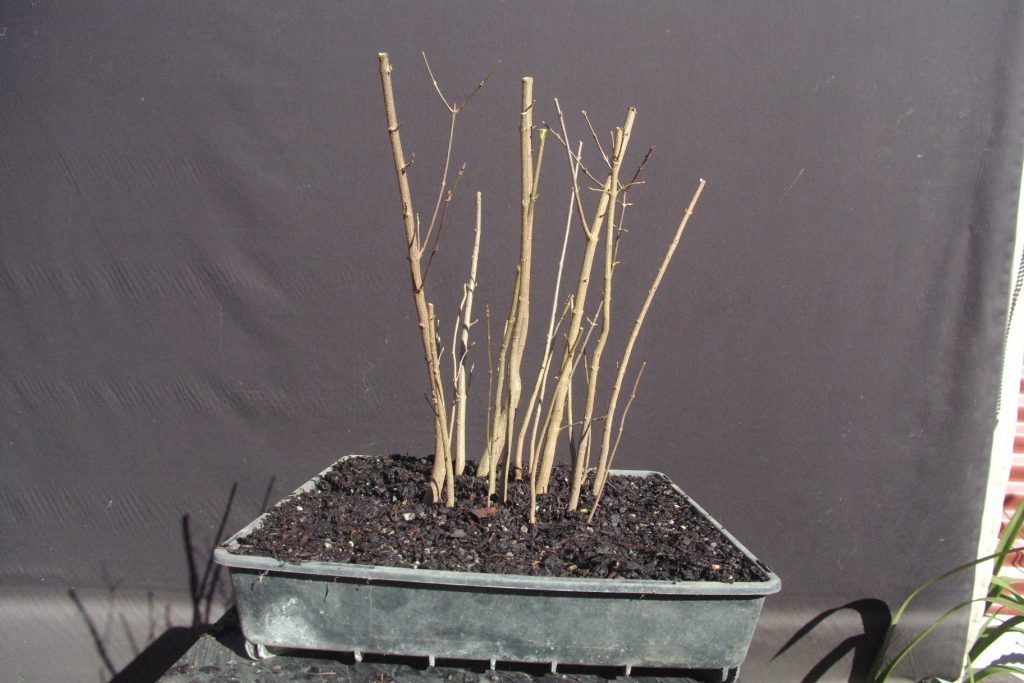
After I’m happy with placement and angles I trim the trunks to final height. Try to make the thickest focal tree the tallest then work out toward the edges, pruning each tree a little shorter so the overall outline will be a rounded dome. Don’t forget that your trees will always grow up so pruning shorter than required now can be a good thing.
After watering your group into the fresh soil do another check and reposition any trunks that have sagged or leaned over. Now put your new forest in a protected place to settle in. Check occasionally to make sure trunks have not fallen over. Just push any problems back into position and add some more potting mix if required.
I generally find some faults during the first year. Things I should have seen but didn’t. Spaces that don’t look great and trunks at odd angles that clash with the overall look. Any of these things can be corrected next spring when the group can be chopped into sections and re positioned or new trees added to enhance the composition.
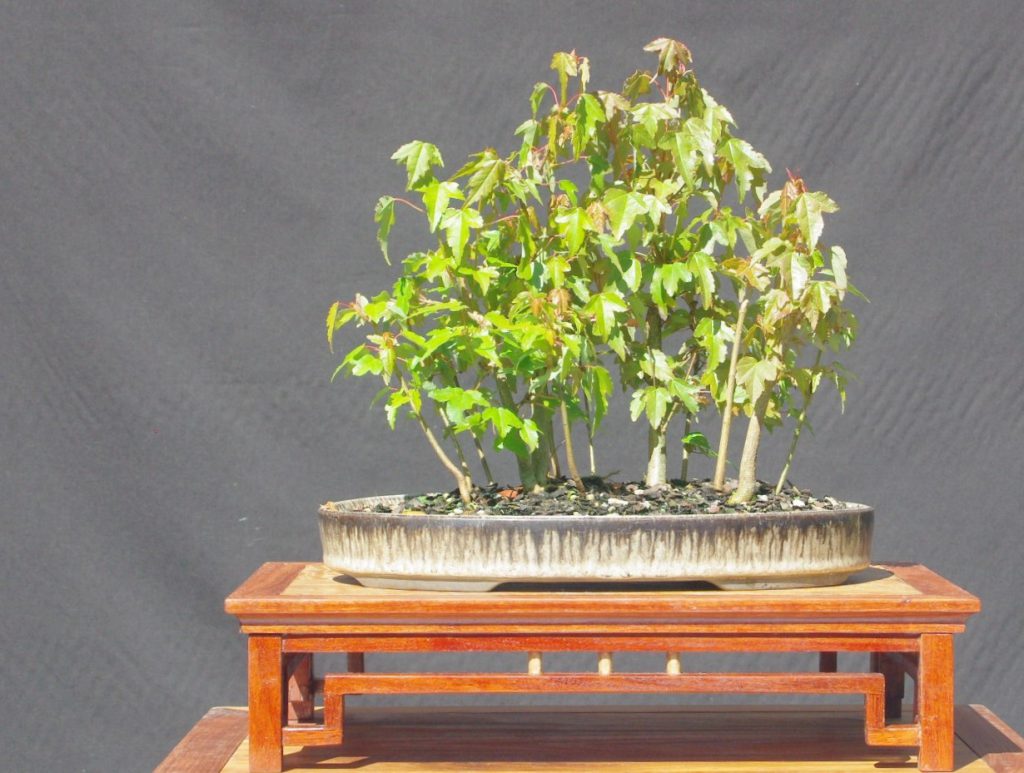
The groups above have been assembled from relatively young trees but groups can be made from more mature trunks which will give an even better look sooner. Here’s a shohin (under 20cm) trident group I put together last winter with trees from the Shibui Bonsai sales tables.
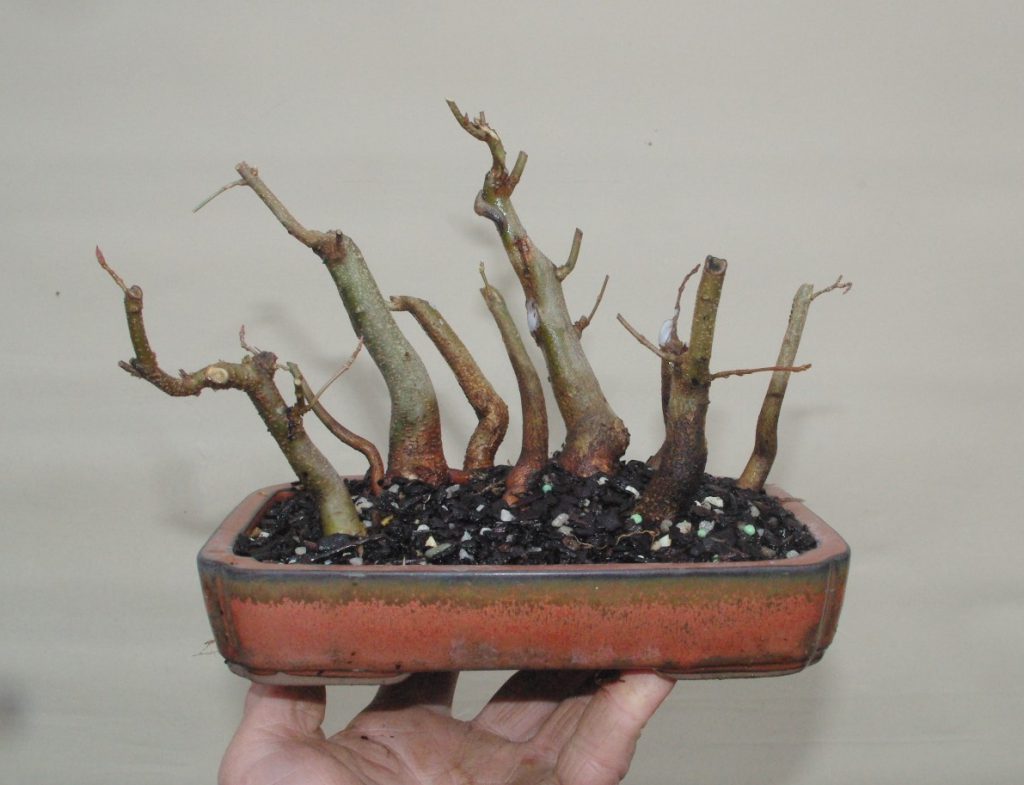
If you would like to create a trident group from more advanced trunks talk to Neil to see what we have available that would suit. I’ve supplied larger trees for client group projects and I’m happy to select trees that I think would work well together.
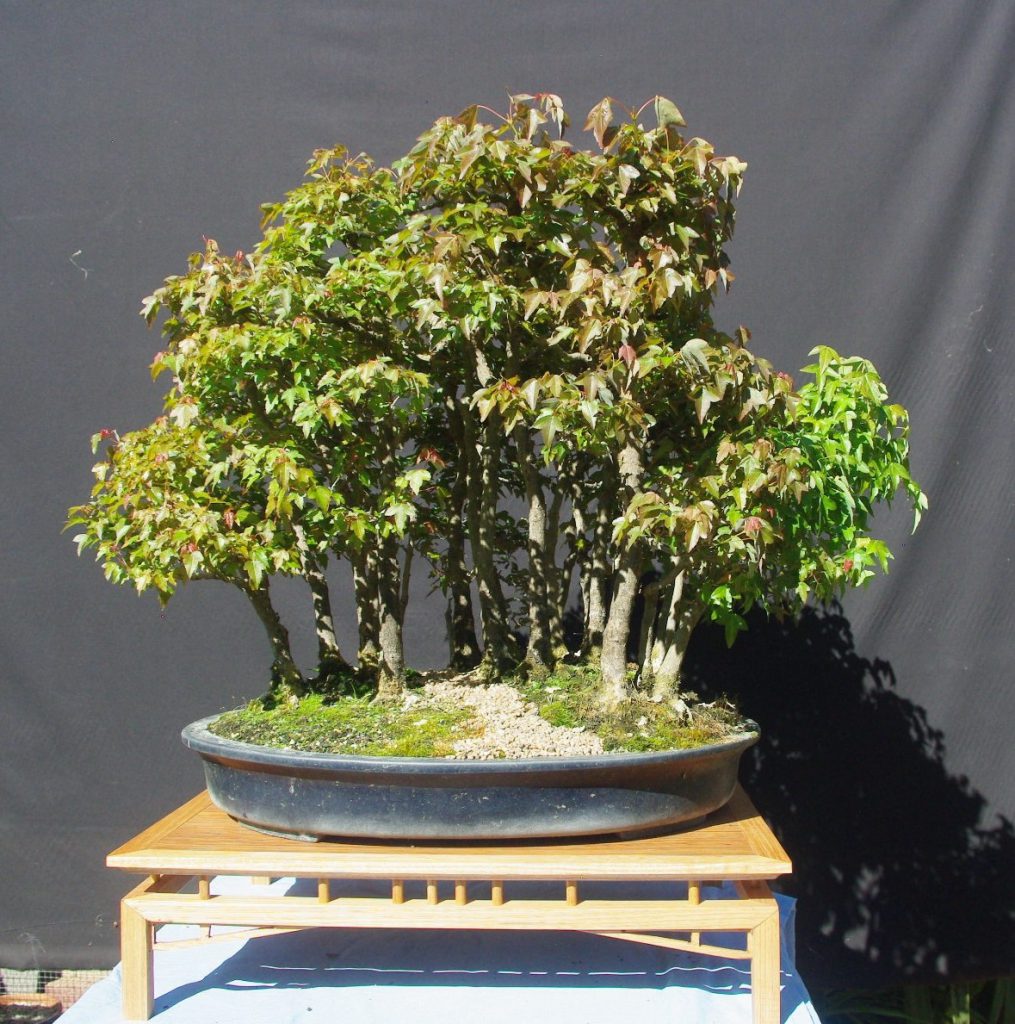
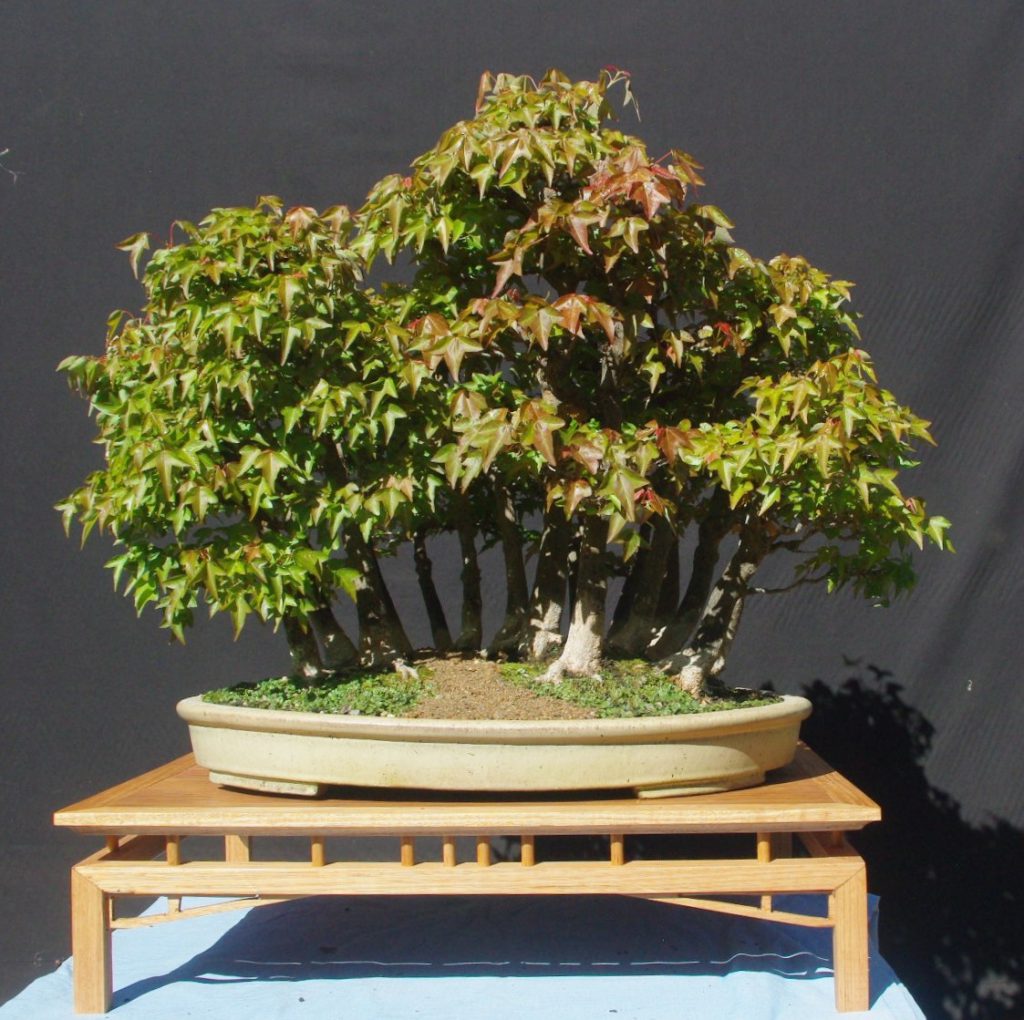
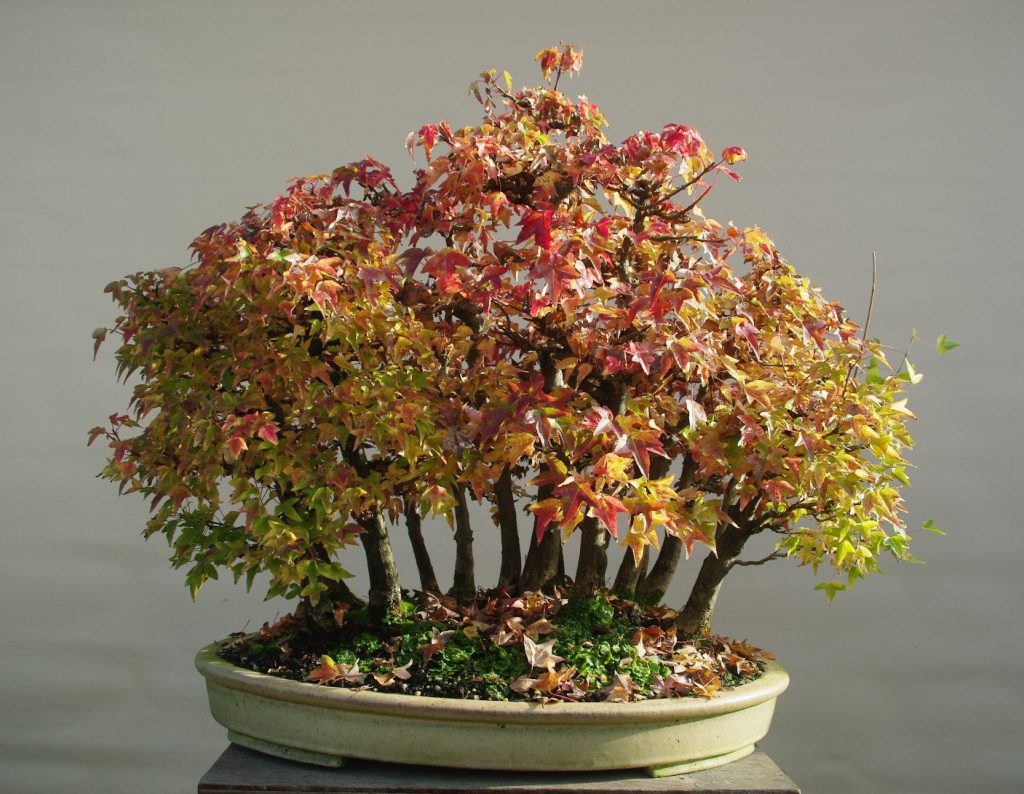
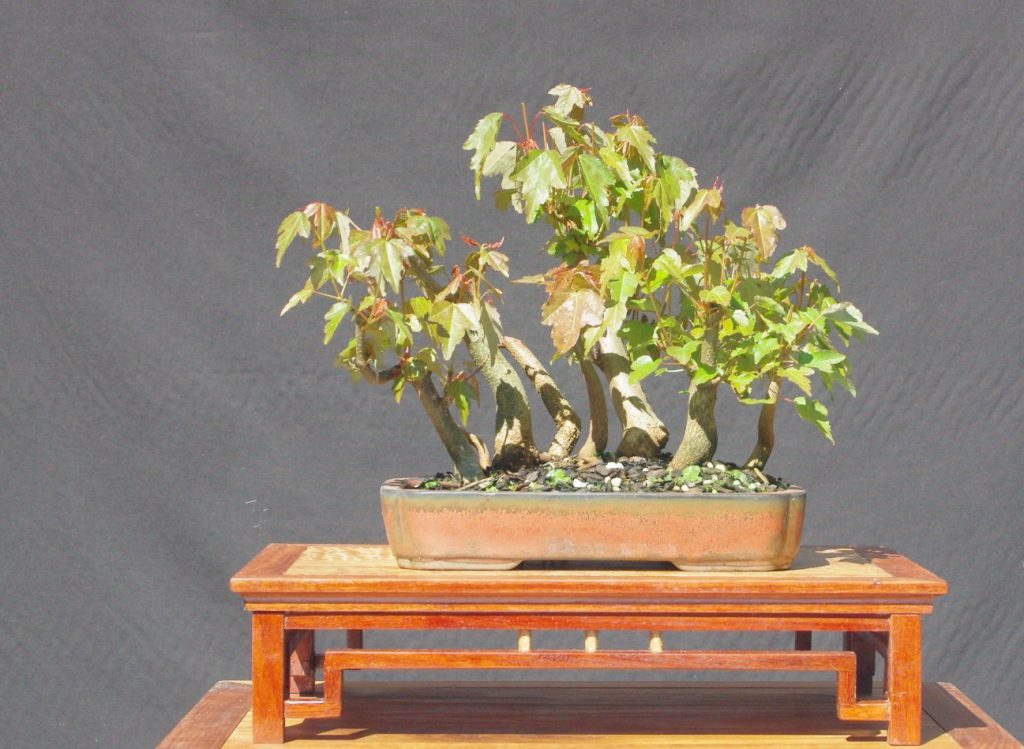
Eventually your trident group could end up looking something like these.