Nebari is the Japanese word that describes the roots we see on the surface. Those roots help us to see an older tree when we look at a bonsai so really good nebari is highly valued in bonsai.
Not all trees grow roots in all the right places. That can be frustrating for bonsai growers. An otherwise great bonsai is not quite as good because it lacks a few roots.
Fortunately there are a number of ways to add roots where we want them. In this post I’m exploring grafting as a technique to add roots.
Roots can be grafted using a wedge graft just like grafting above ground but the techniques require just a little skill. Approach grafts and thread grafts are much more likely to succeed for most of us.
Approach grafting new roots:
For approach grafts I use seedlings that have a bend close to the roots. Not strictly necessary but it is easier to attach them to the trunk and still have the roots horizontal.
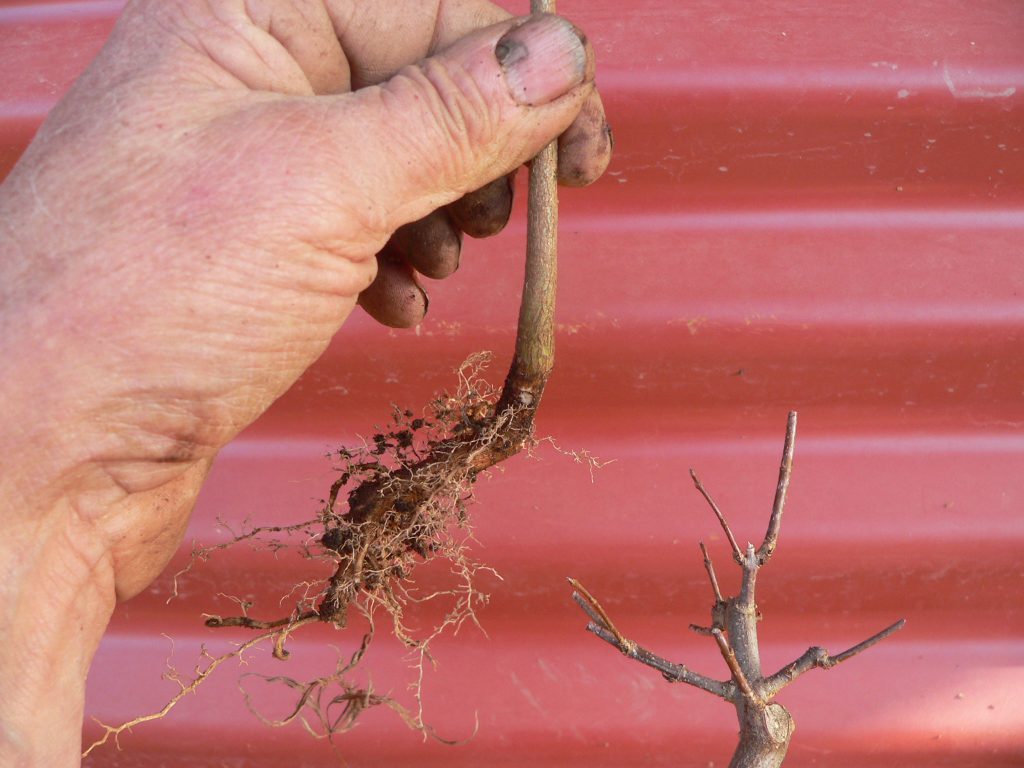
It is much easier to do this with the tree out of the pot. You may need to clean away some of the soil to access the area better.
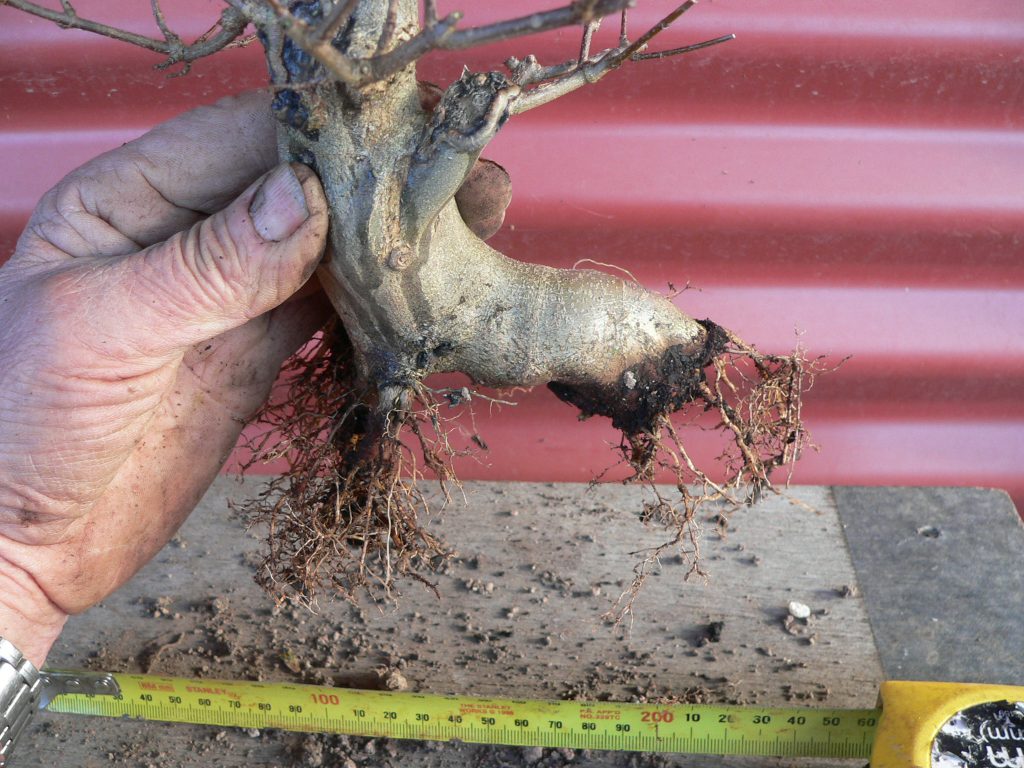
A slot is cut through the bark of the bonsai where the roots are required. This should expose the cambium layer between the bark and older wood but don’t worry too much. The beauty of approach grafts is that both scion an root stock continue to grow until healing takes place so accuracy and details are less important. Make the slot about as wide as your seedling so the 2 will match well.
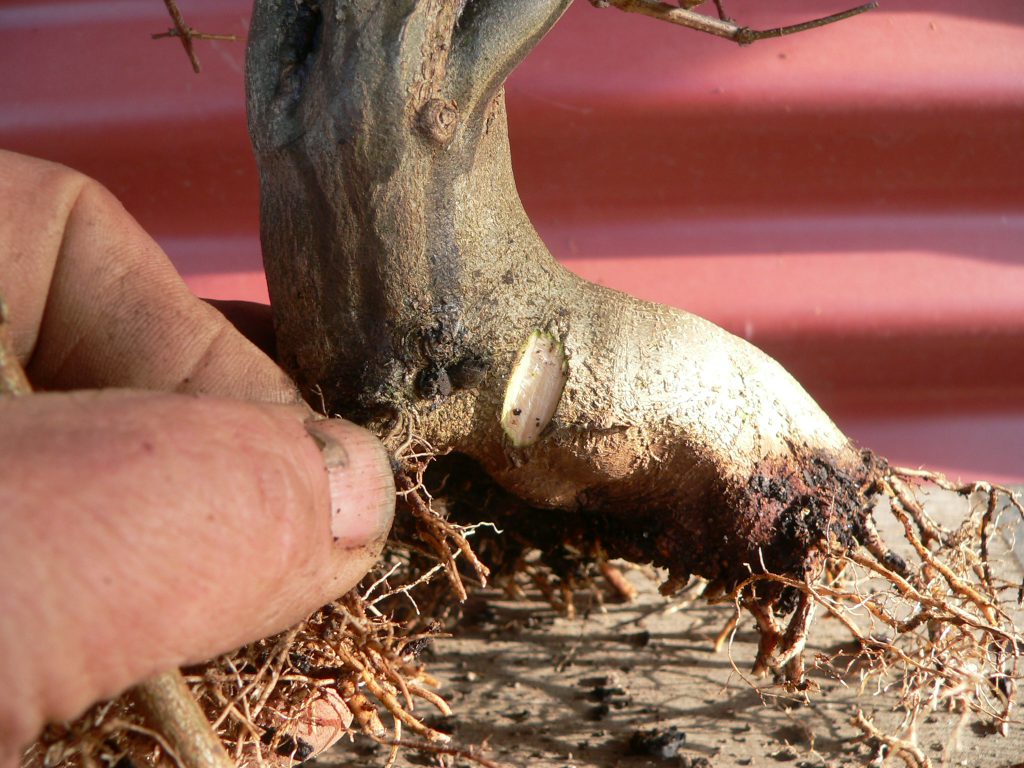
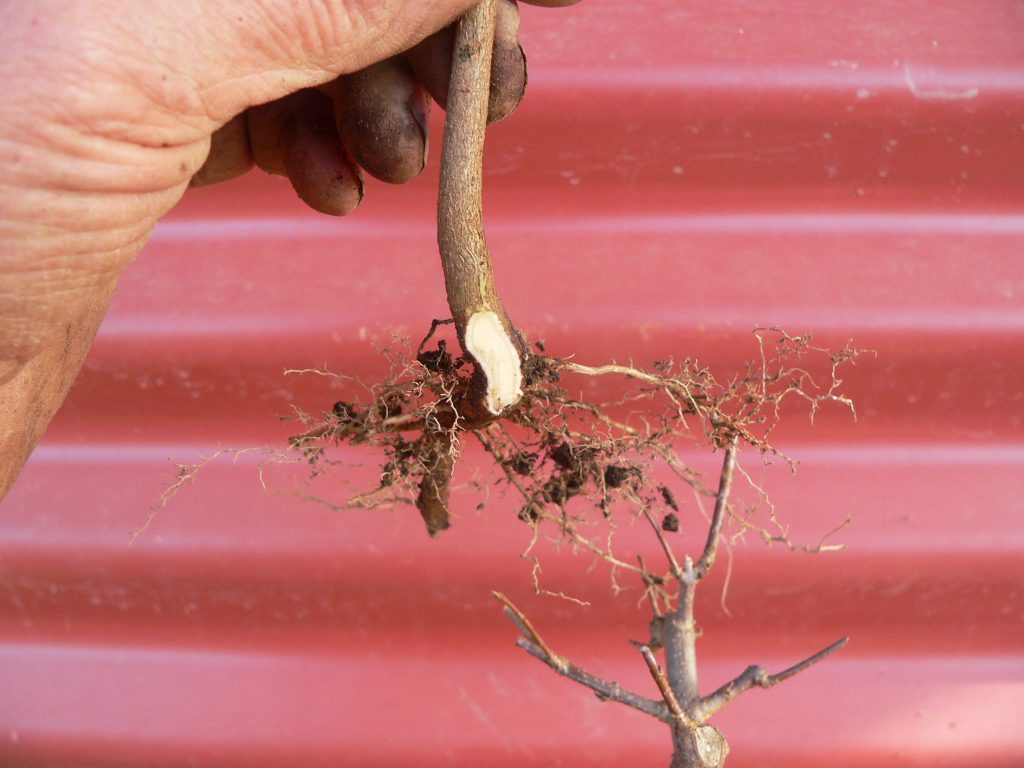
A thin slice is also peeled off the side of the seedling corresponding to where it will sit in the groove. Both those cuts will heal up. The aim is that the callus from both will grow together and unite into a good graft.
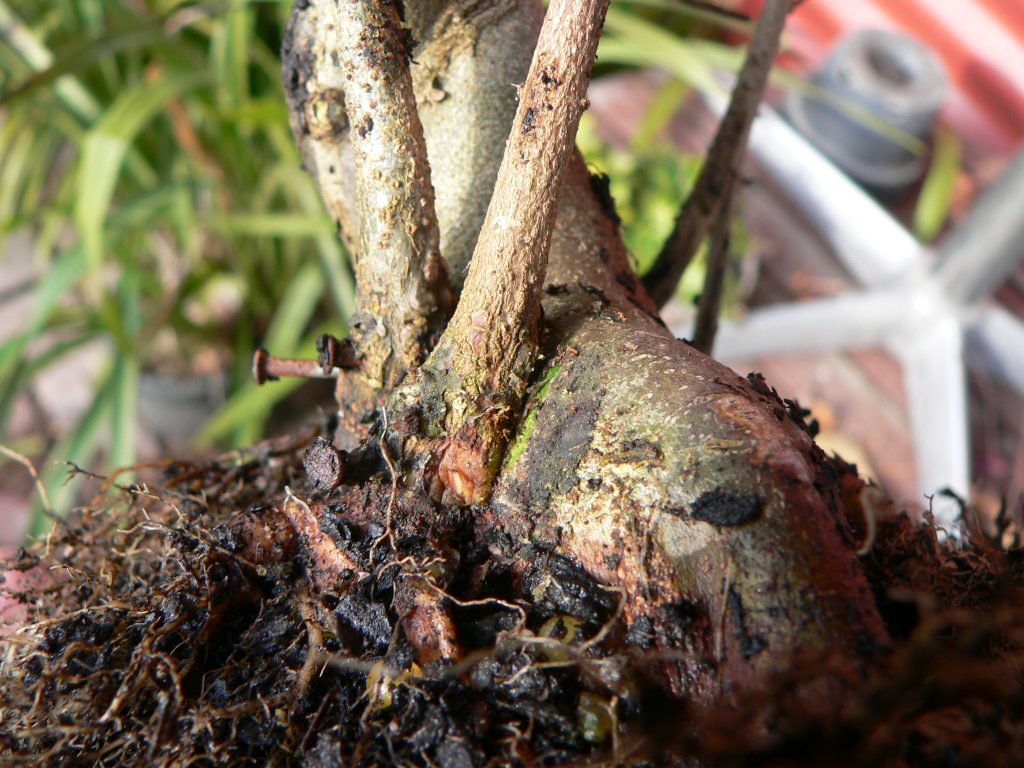
Fit the seedling into the groove and pin it securely in place. Pins, nails or staples can be used to fix the seedling. It must be held firmly or the healing process will just push it out of the groove and the graft will fail.
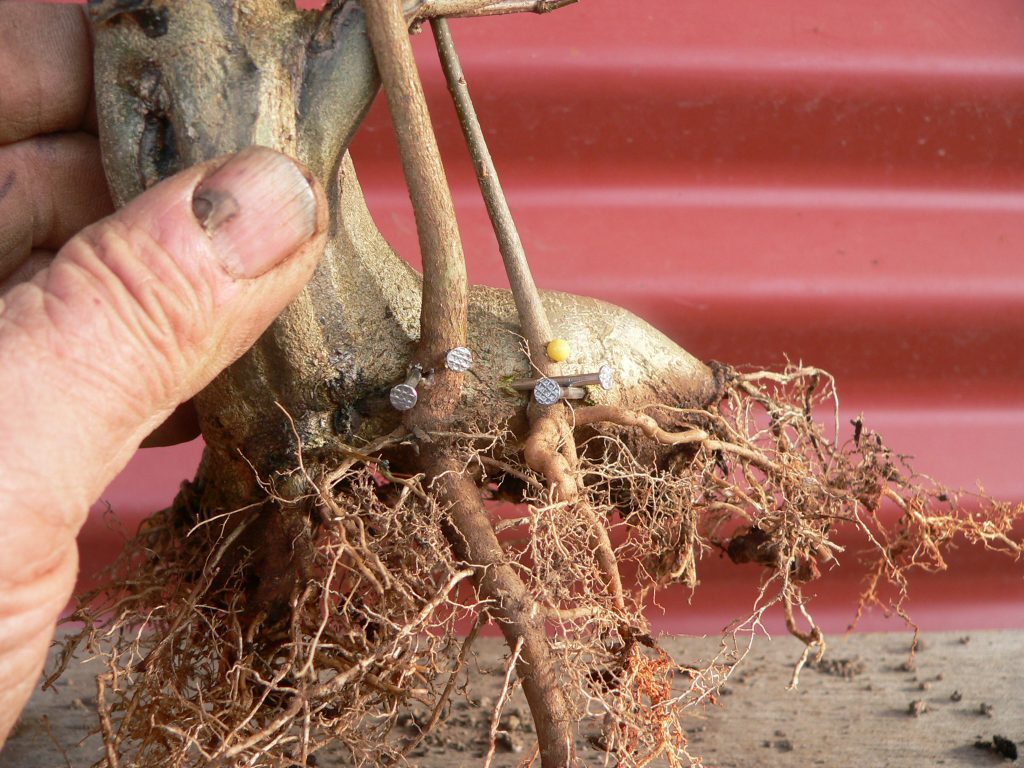
Now cover the wound with some sealer to reduce drying and keep water out. The Japanese cut paste is suitable but I have also used grafting wax and other liquid wound sealers for this. I’ve used the Japanese wound sealer that comes in tubes on this one.
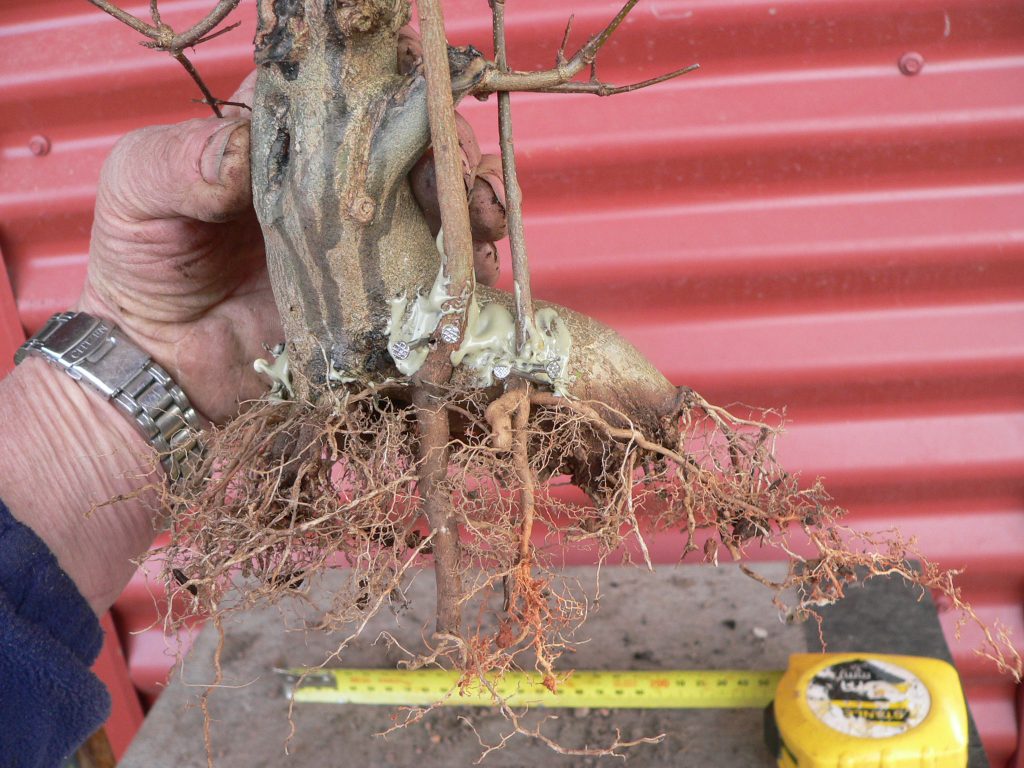
You can put a number of root grafts on a tree at the same time. I added 3 more onto the other side of this tree so that’s 5 grafts on this tree this time.
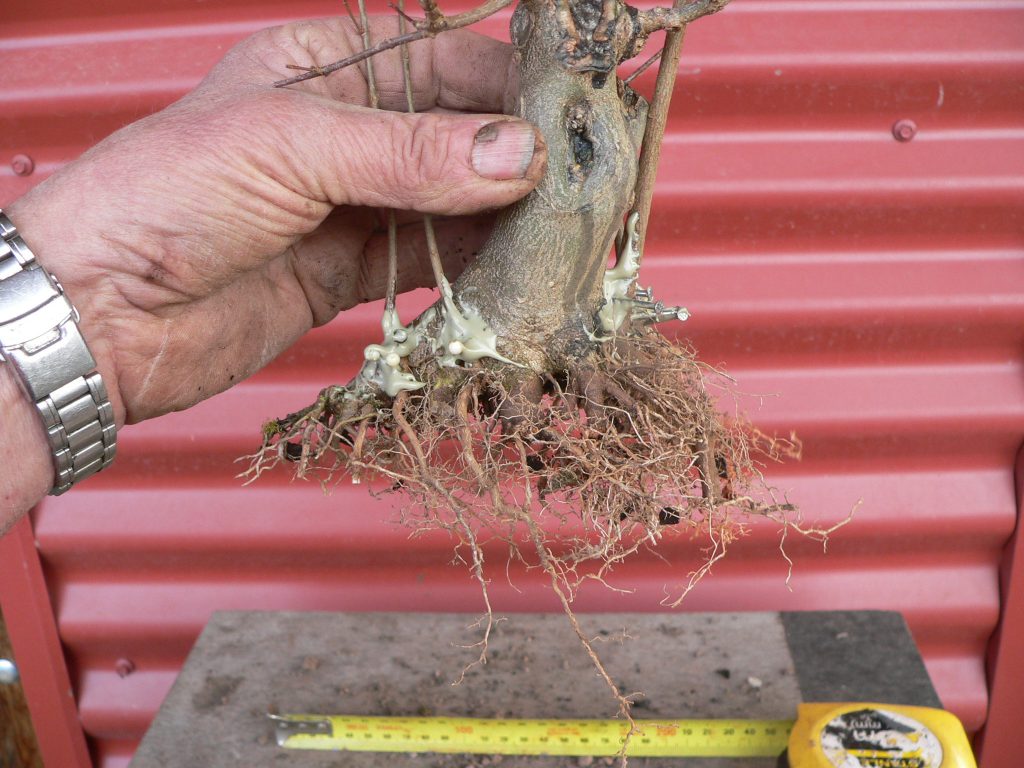
Replant the tree and care as normal. The new addition should grow as usual but under the sealed area the 2 trees should be uniting together. It usually takes a whole year for a good graft to form. Allow the seedlings to grow so they thicken and unite quicker. Sometimes, when the seedling does not grow very much, it takes several years.
Remove the sealer after 12 months and check the edges of the cut for signs the bark has grown between the tree and your added seedling.
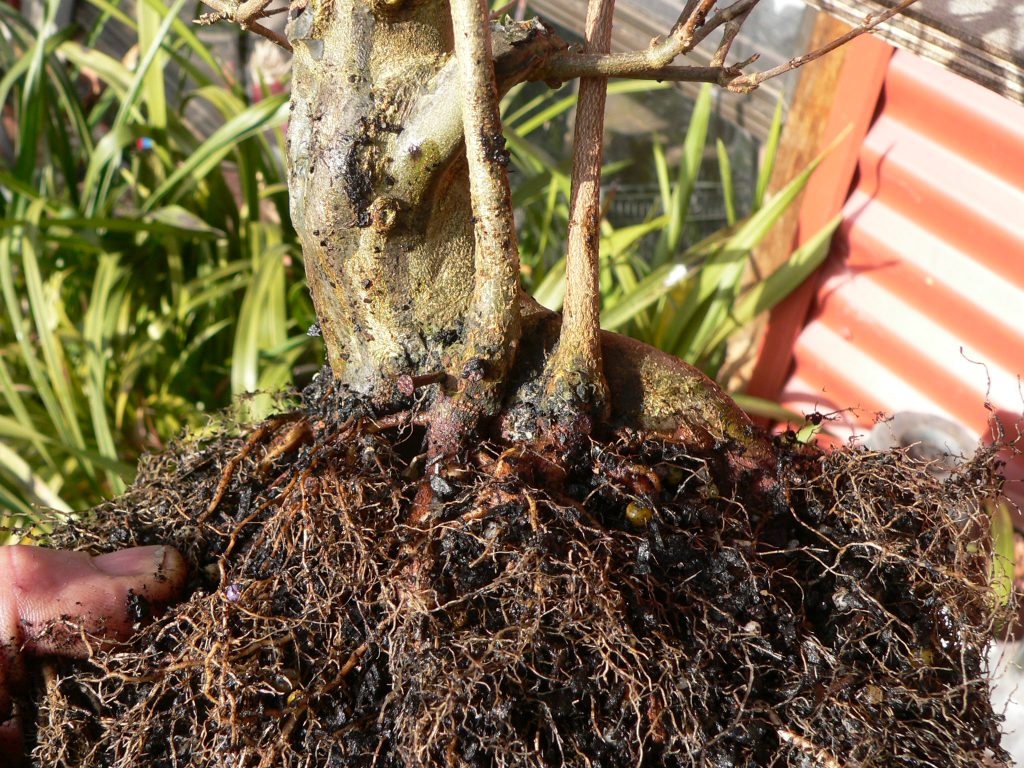
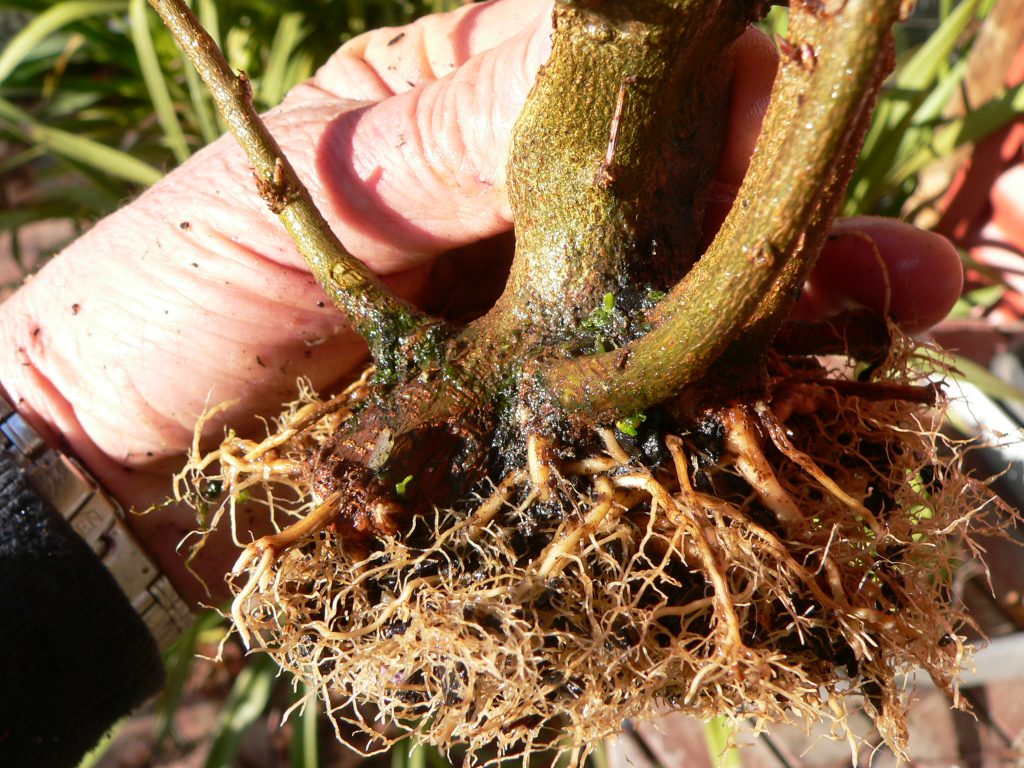
The photo below is 2 years later. A couple of the grafts were well healed after a year and the tops have been removed. The remaining 3 had not joined up properly so I let the grow for another season.
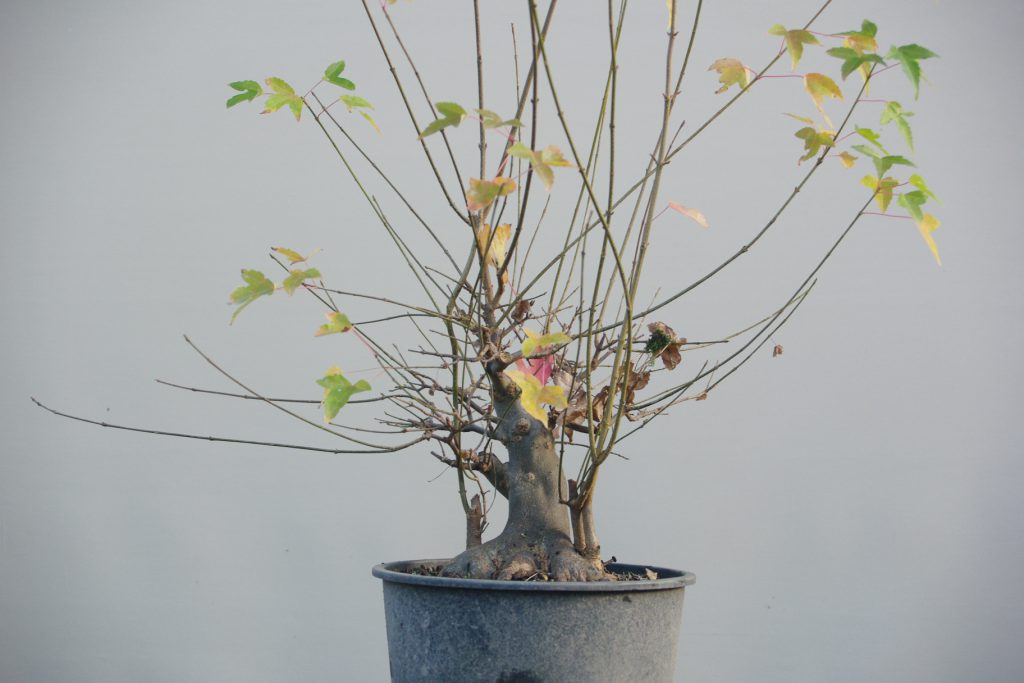
When you can see good connection the seedling can be cut off just above the graft site leaving the seedling roots to feed the bonsai.
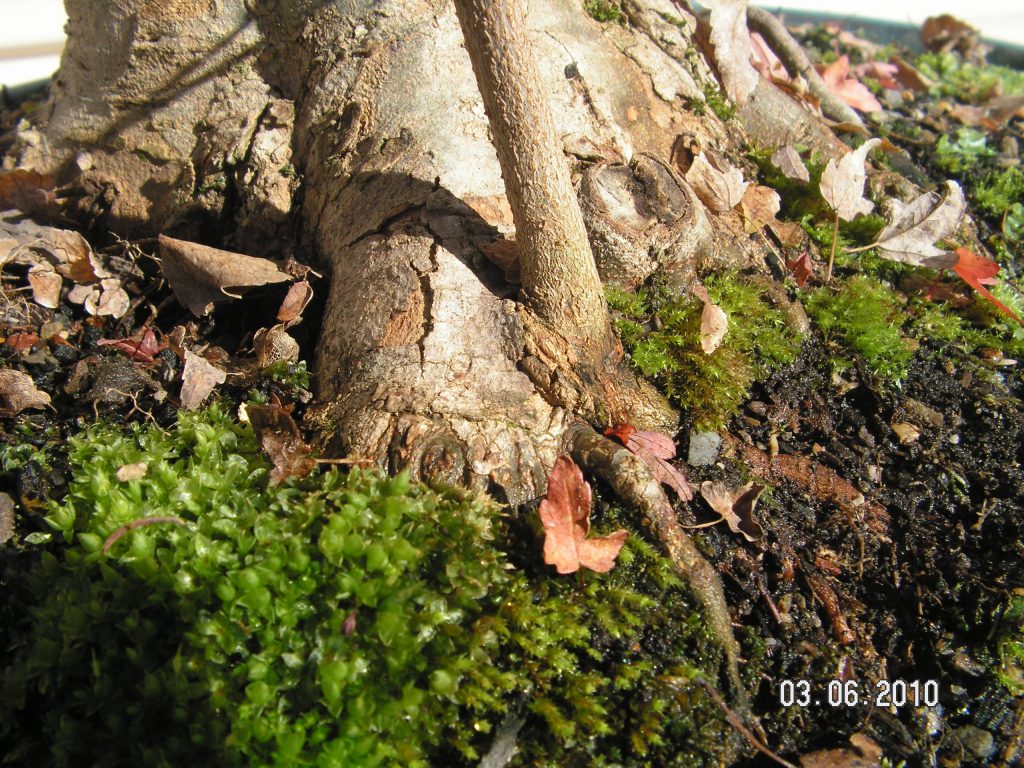
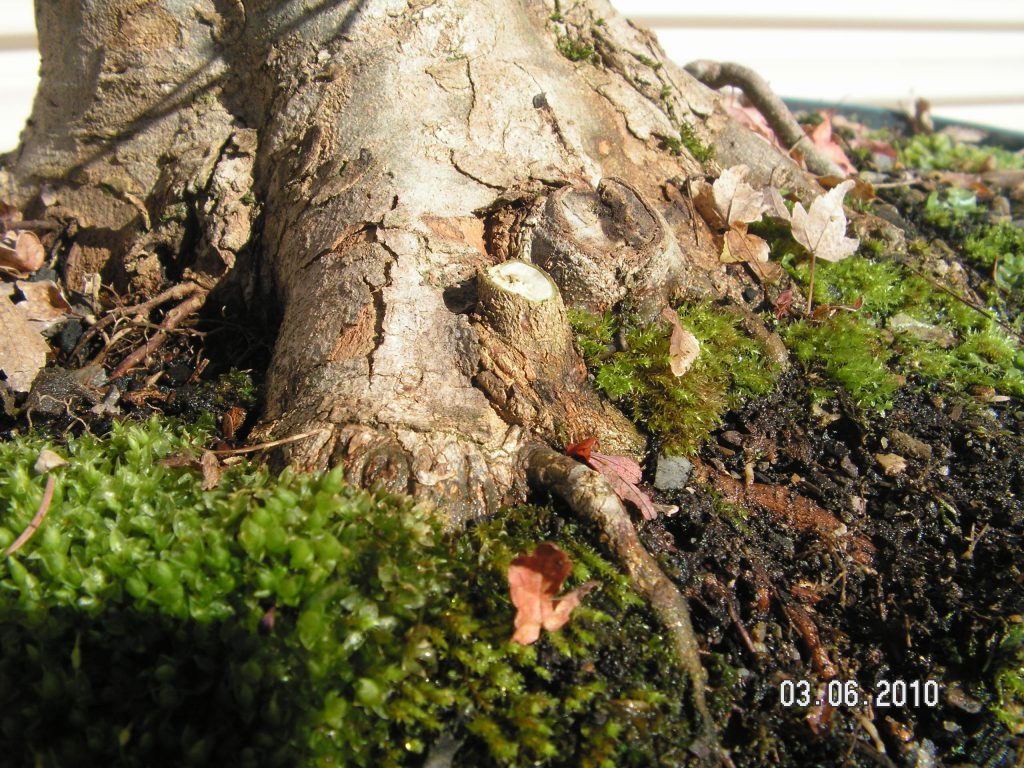
By selective root pruning over the next few years you should be able to encourage the new roots to develop until they are just another part of your bonsai nebari.
Thread Grafting new roots:
Thread grafting is another technique I have used to add roots to a bonsai with poor nebari. while not quite as versatile as approach grafting, thread grafts usually leave a less visible scar but can only be used where you can drill a hole right through a portion of the tree.
You can see that this small trident maple has had a tough life. I think the hollow trunk might make it a little more interesting but it definitely lacks roots.
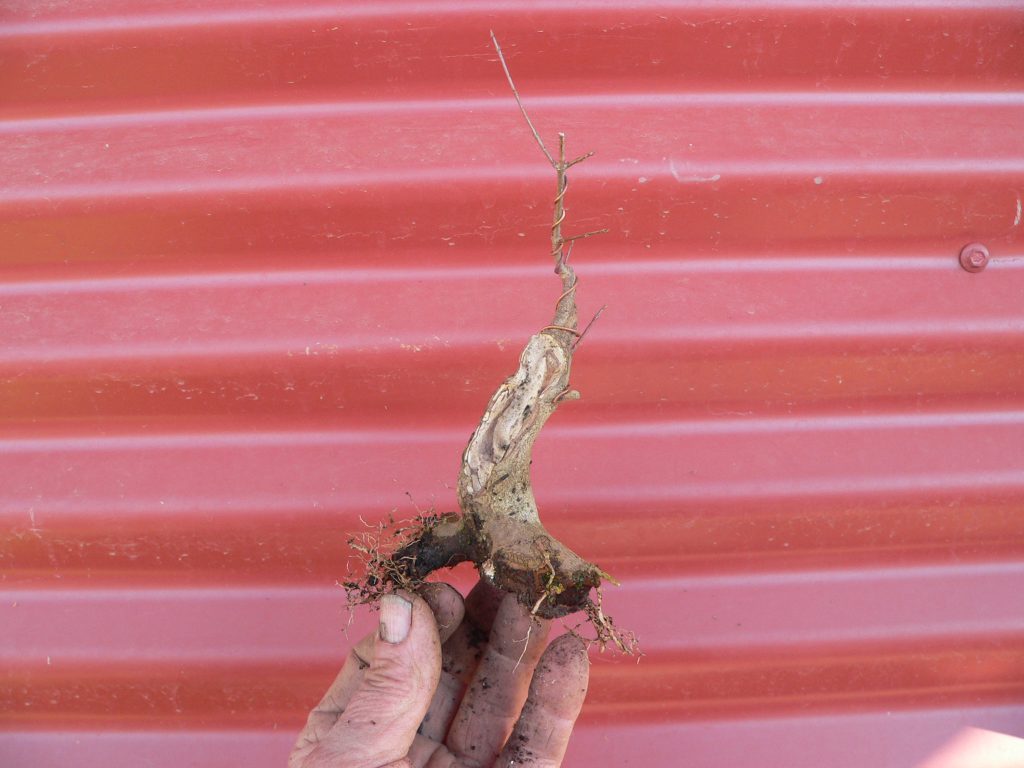
Having the tree out of the pot and removing soil from the area to be grafted will usually make this operation far easier,
Select a drill bit large enough to leave a hole that the chosen seedling, along with its buds, will fit into. That is usually a few sixes larger than you thought but don’t worry, it is easy to enlarge the initial hole with a larger bit when you discover the seedling just won’t fit the original hole. It is also worth noting that it requires a fairly long drill bit to go all the way through even a medium sized trunk.
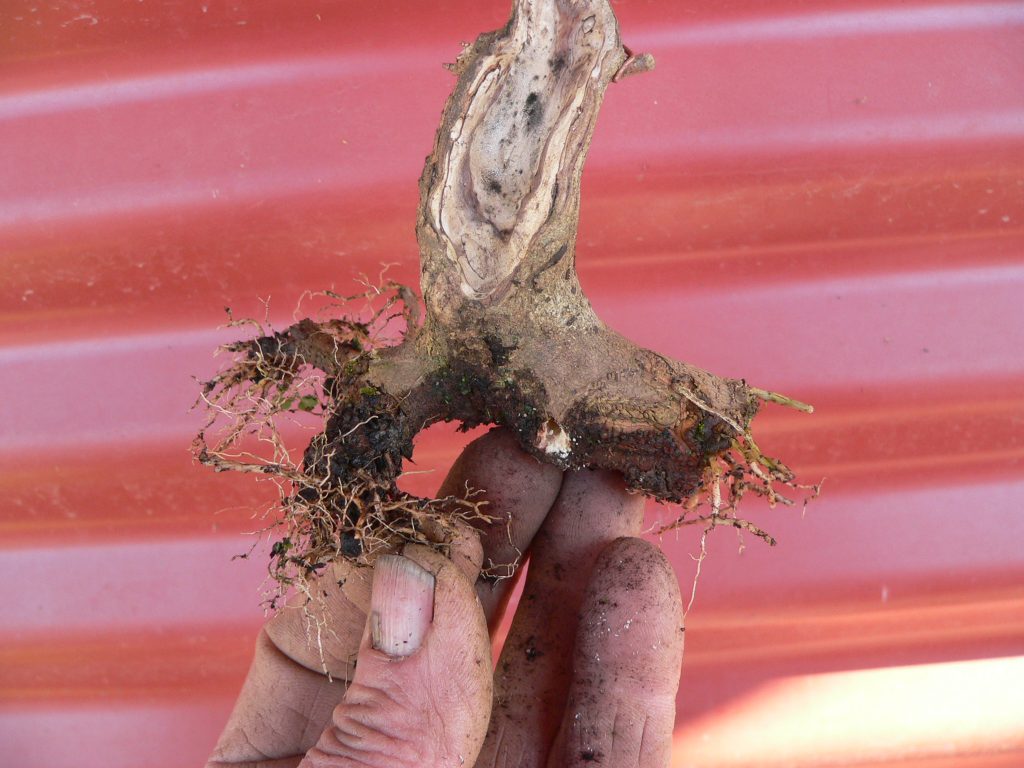
Start drilling where you want the new roots. It is easier to drill FROM a designated spot than it is to make the bit come out at just the right place. Entry hole is also generally cleaner as the drill will usually break away some bark as it comes out the other side. Use slow speed on your electric drill as faster could overheat the living tissue of the tree.
Thread the seedling right through the hole until the seedling roots are just where your bonsai requires new roots then seal around the holes at either side. Repeat to add any other grafts but be careful not to drill through any previous seedlings.
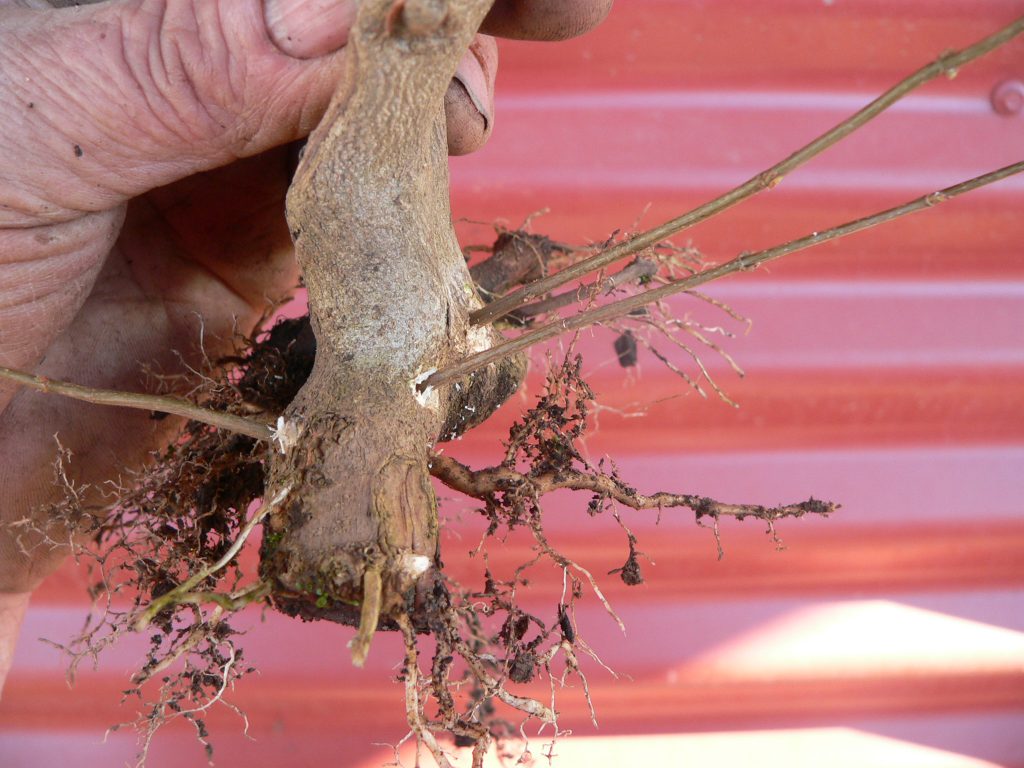
You can now repot the tree making sure all the roots are well protected with potting mix.
For the following season allow both the seedling and the bonsai to row freely. This will ensure better thickening of the seedling and healing of the holes you threaded the seedlings through. Eventually the holes through your bonsai will constrict the sap flow in the seedling bu callus formation around the entry and exits should now join one to the other.
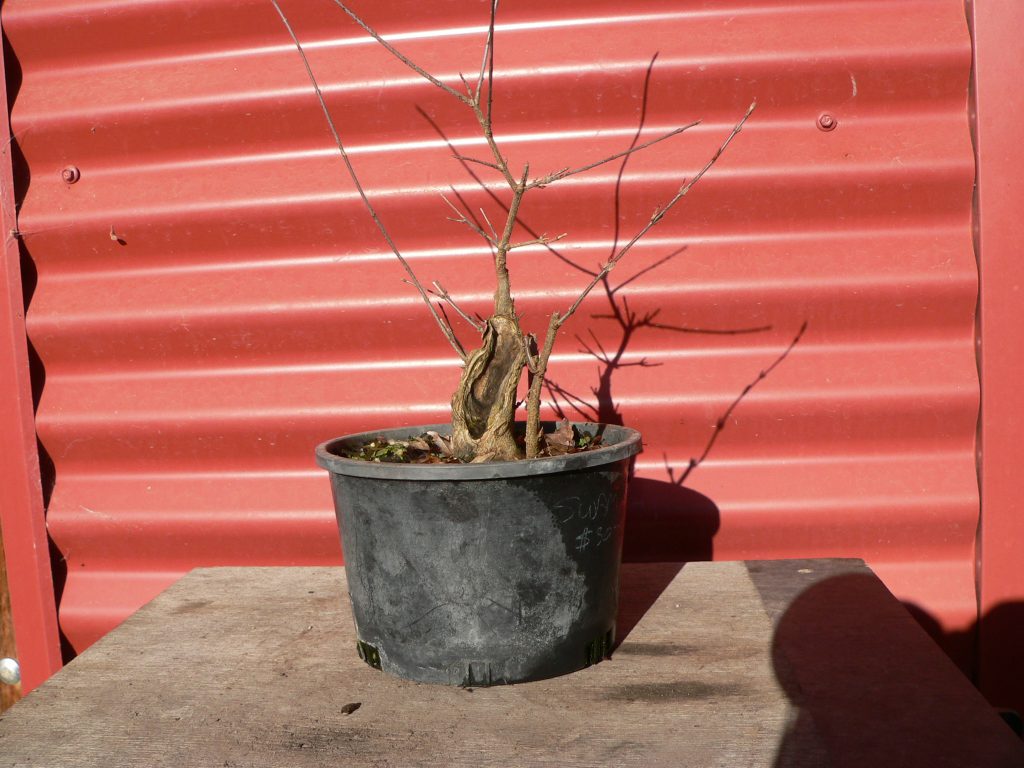
When there is a good join you can cut off the top of the seedling and the roots should now be joined to the bonsai trunk.
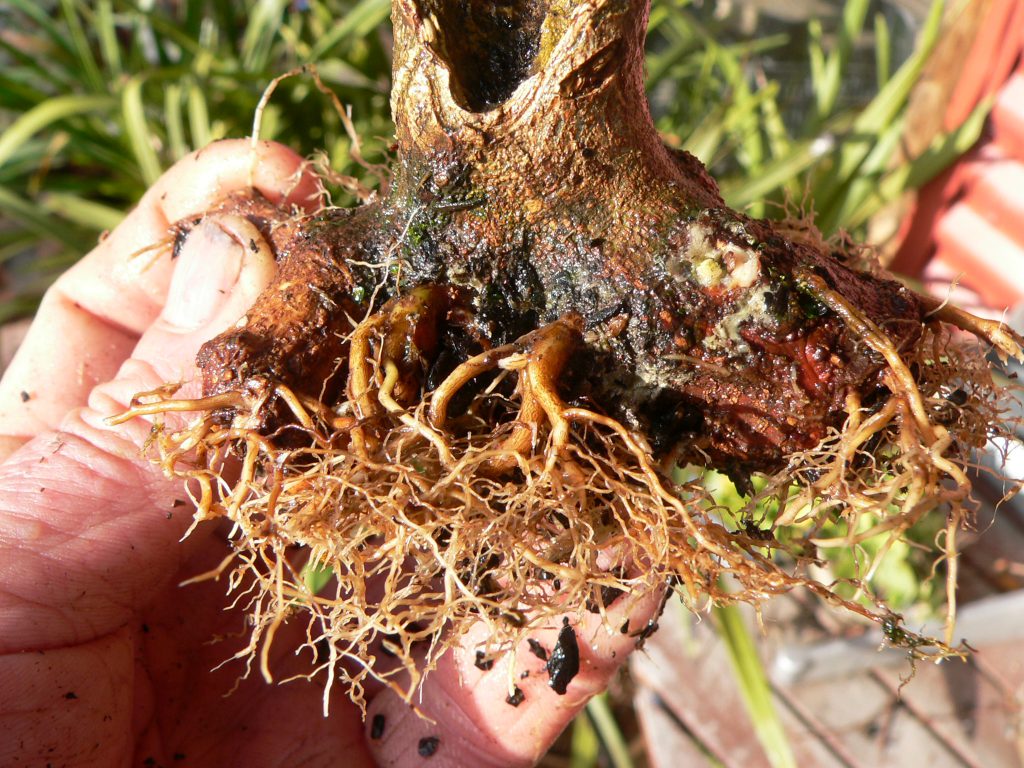
As always, this method can fail. I have had occasional examples where the roots of the seedling have not grafted but the top has grown really well. Occasionally the seedling will fail completely but the holes you drilled will just heal up so no harm done.
