Arranging a number of seedlings together can turn otherwise unimpressive trunks into a group style bonsai with real appeal.
You’ll need a few trunks for this. Obviously the better the trunks you start with the quicker you’ll have a real forest but groups look good even with very young stock. To make a better group you’ll need a range of trunk thicknesses. In nature, a forest will have older and younger trees grouped nearby and we want our bonsai forest to look natural. Don’t worry about the height of the trees at this point. That can be rectified with a quick snip later on. I find it best to start with a few more trees than I intend to have in the final group. That will allow you to reject a couple if they just won’t conform.
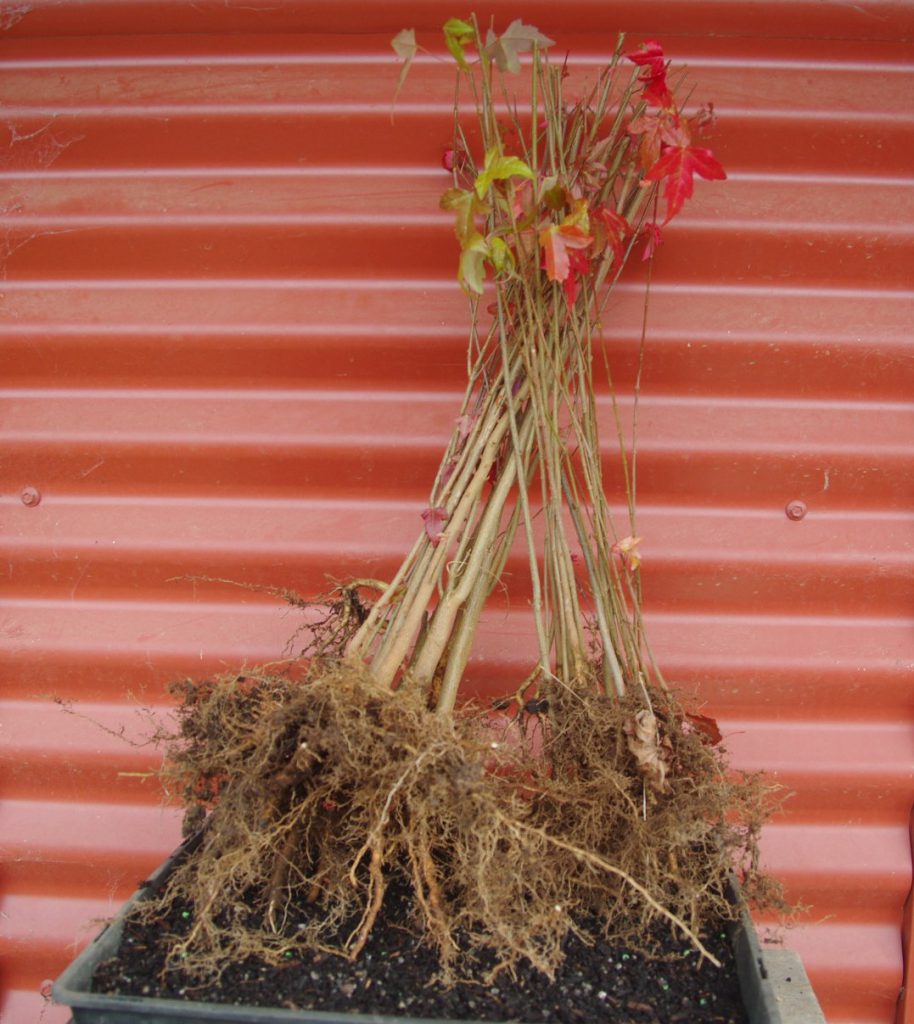
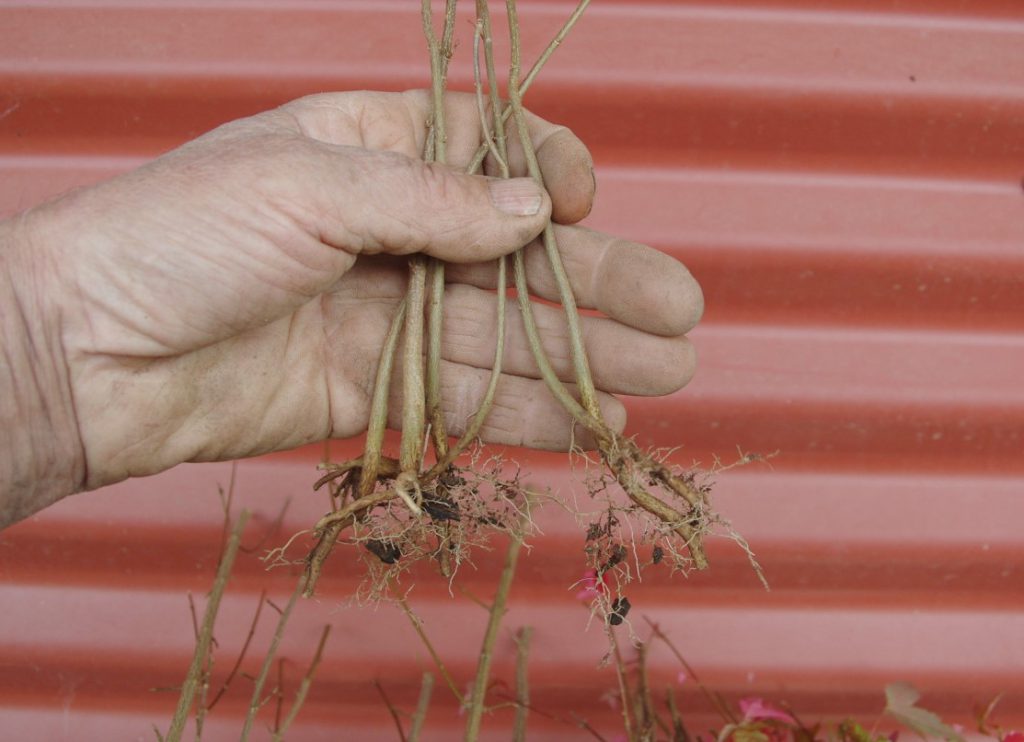
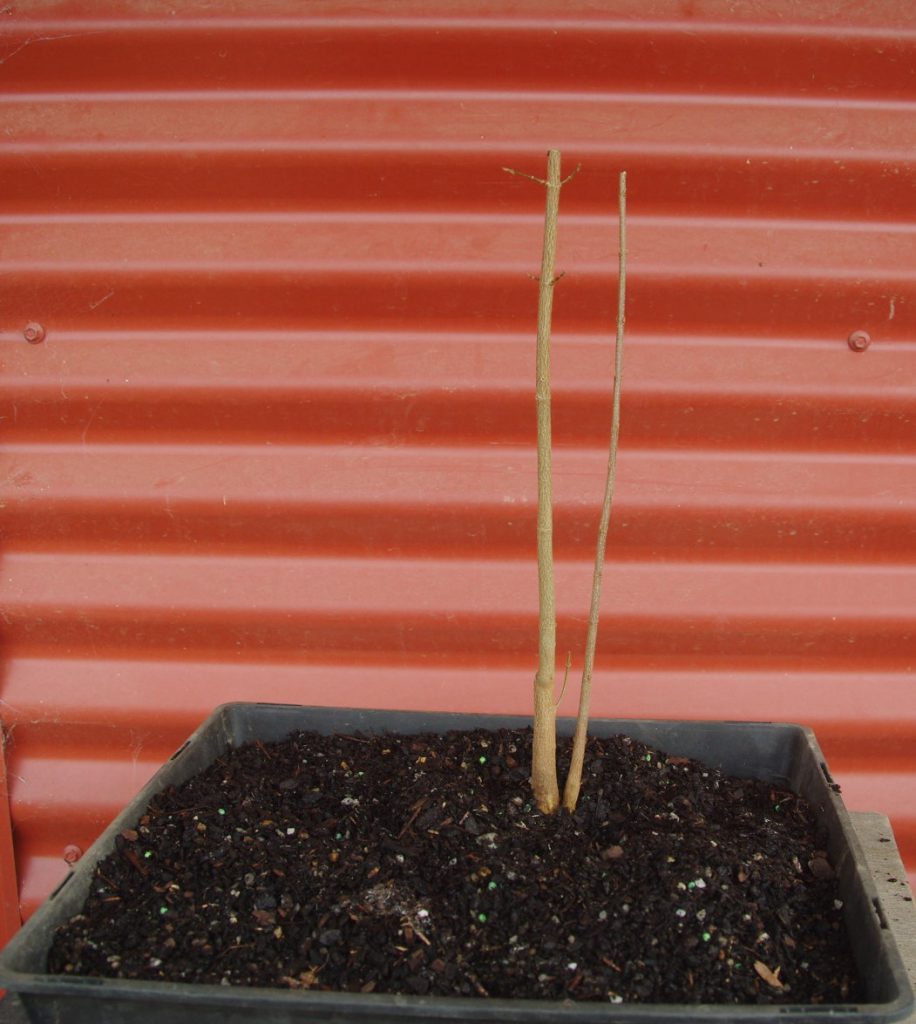
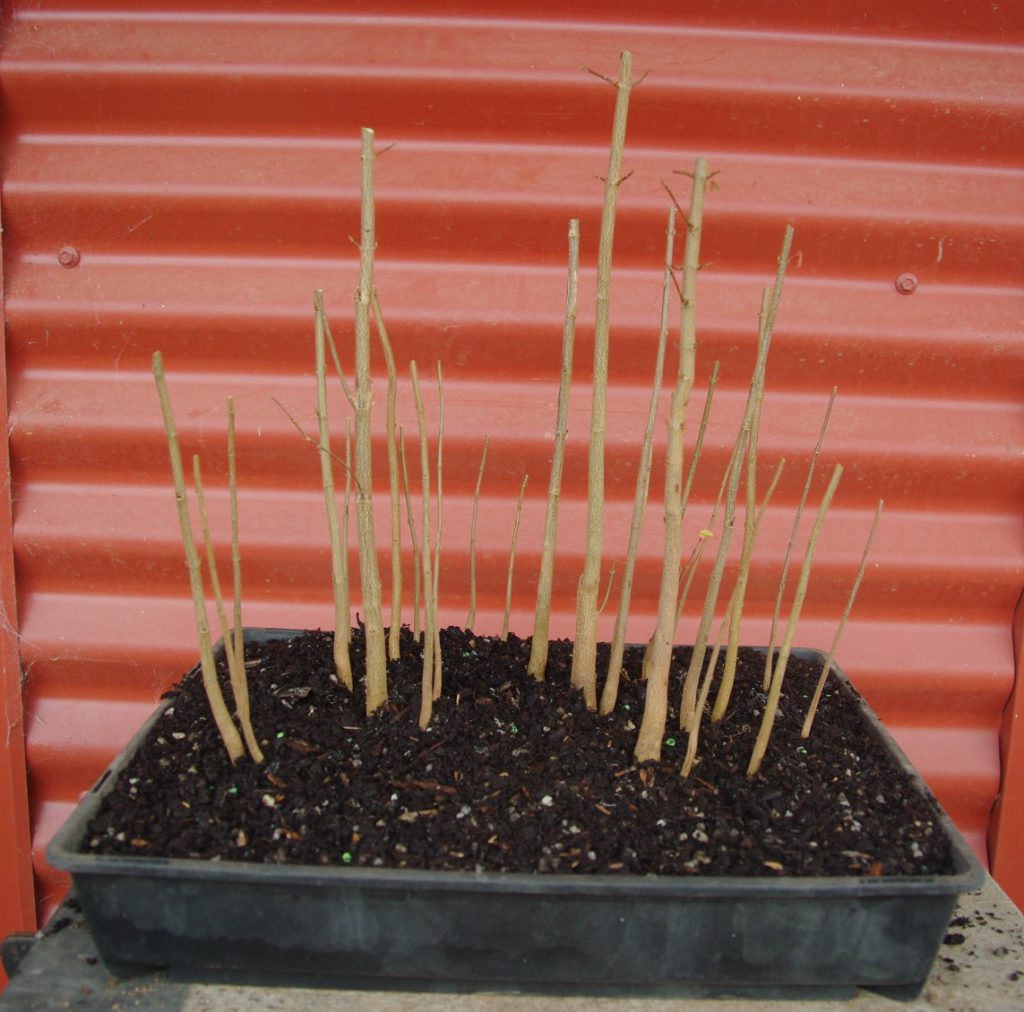
Here’s the bunch of seedlings I’m going to use for this group planting. Note that I have chosen a range of trunk thicknesses to make a more believable forest.
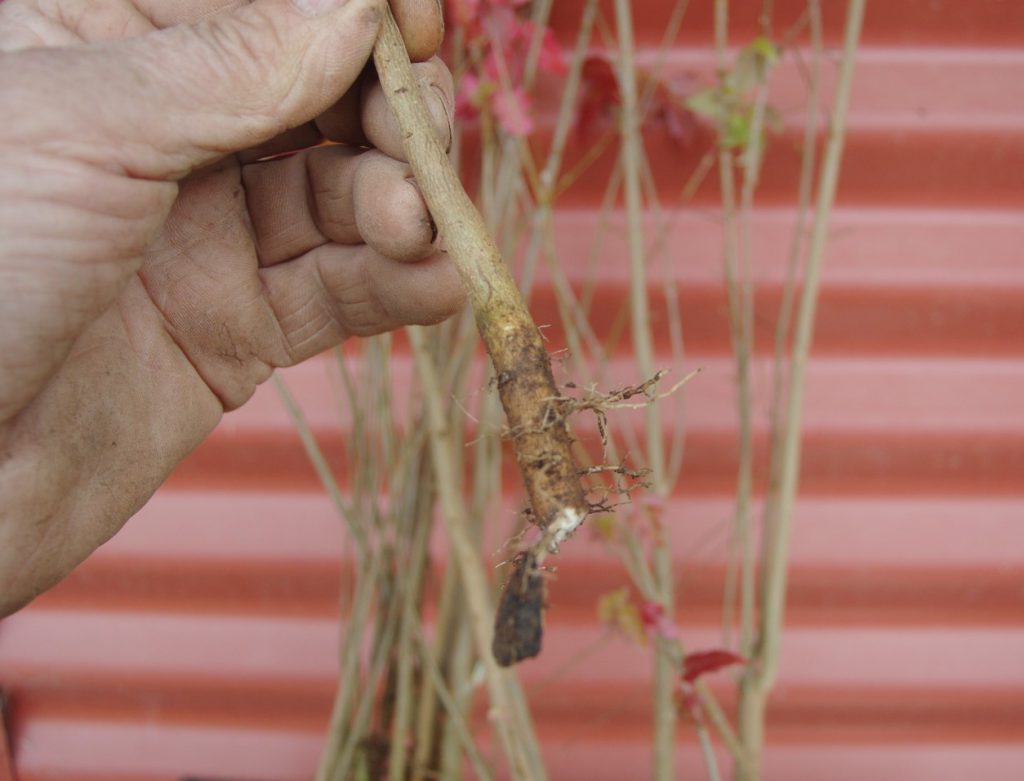
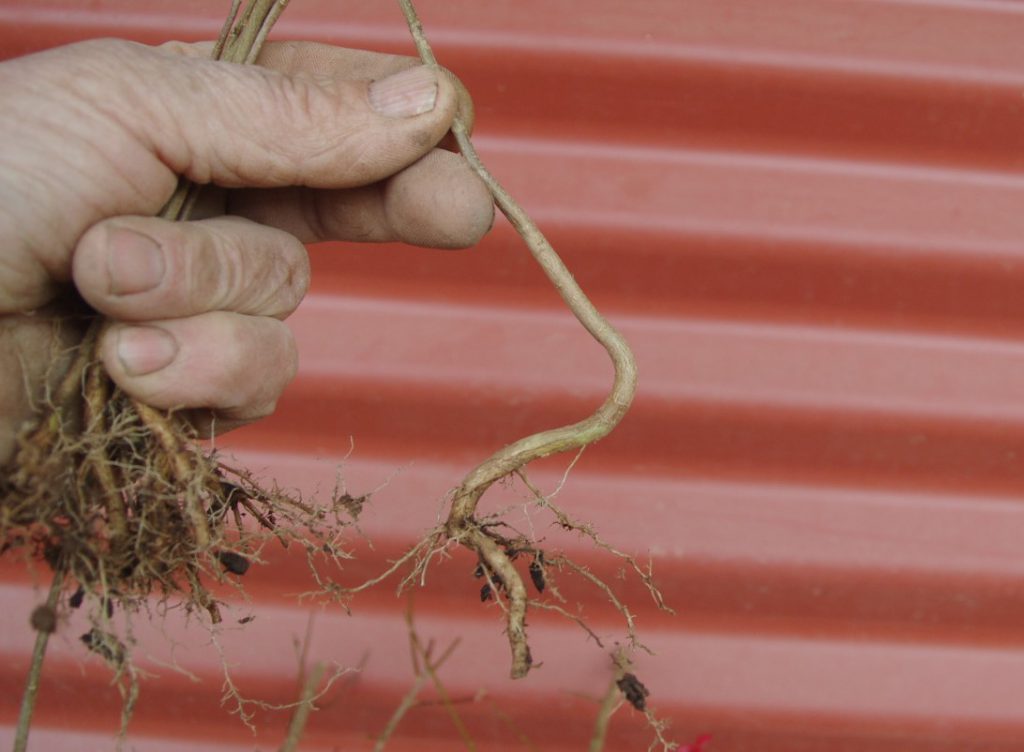
Give your seedlings a rough root prune. Remember they don’t need many roots to survive and grow so cut fearlessly.

Good root pruning will allow you to better place the trees in the tray and will also allow them to develop better root systems as they grow. There’s plenty of roots left on this one for it to thrive when growth starts in spring.
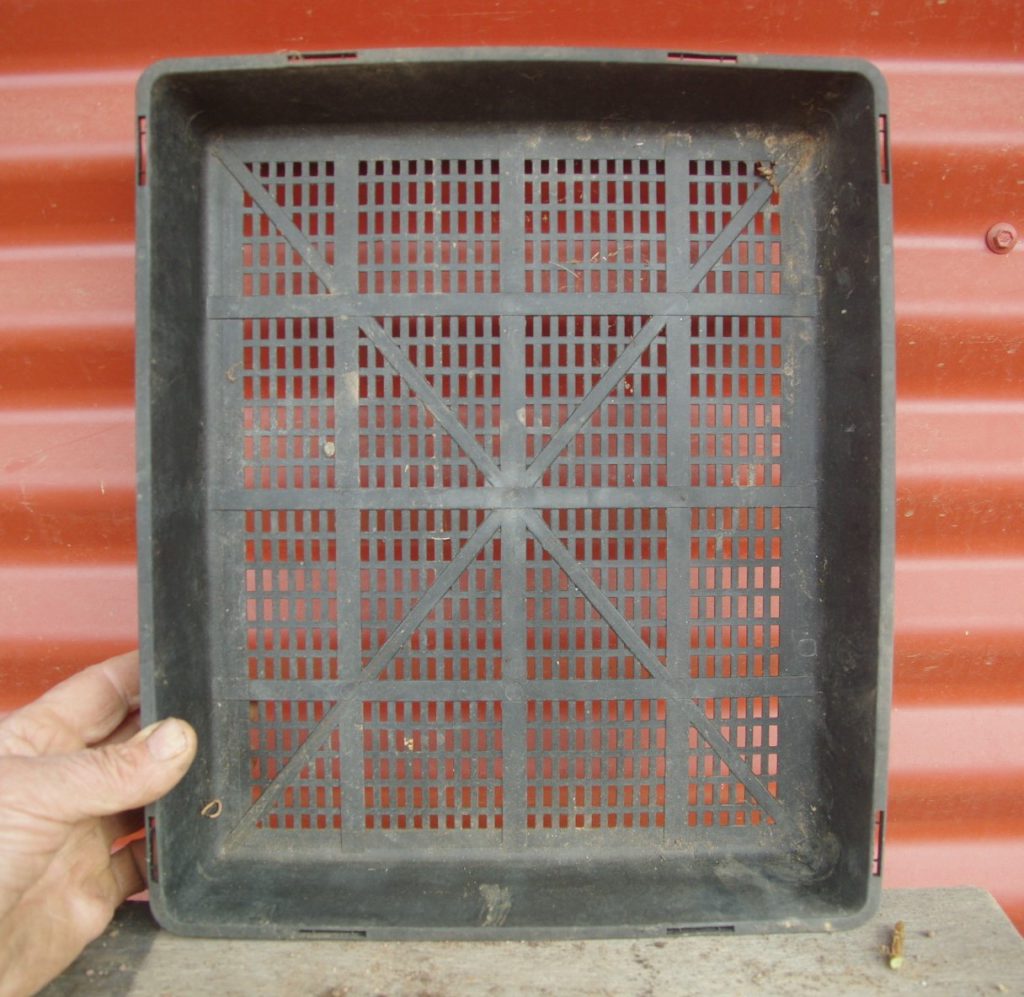
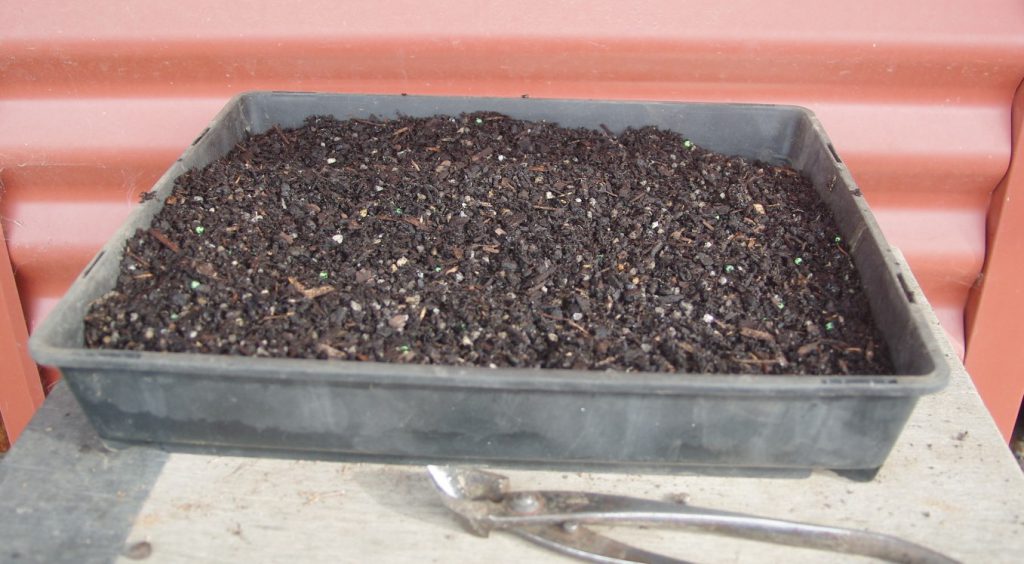
I use these seedling trays to develop trident group plantings. They are a good size for most and easy to obtain. Feel free to substitute any suitable sized pot or tray for your bonsai forest.
Sort the trees into size ranges from thickest to thinnest. The thickest tree will be the focal point of the whole group and sets the theme for all the other trees in the group. If the main tree is straight and tall the group will look far better if all the others are a similar shape so put aside any that don’t match. If you had told me you wanted to make a group planting I would not have included these in your forest pack!
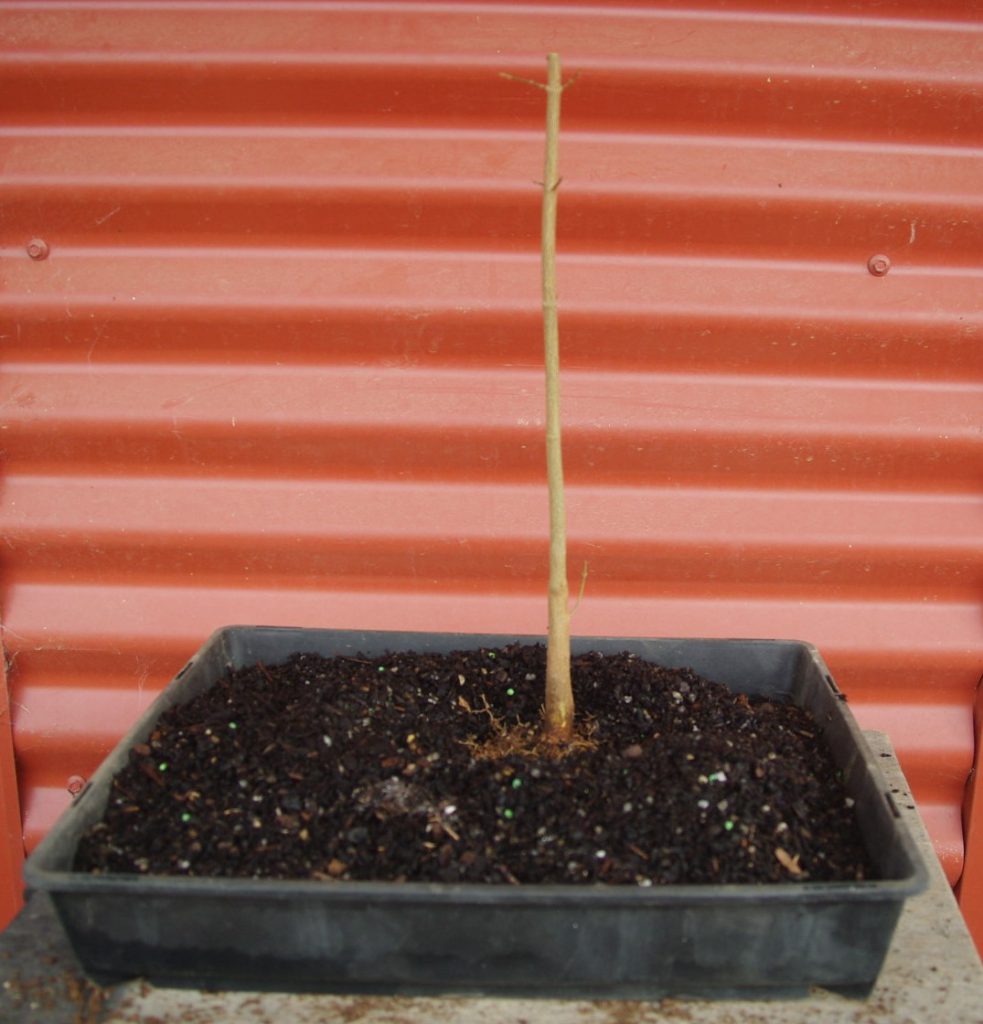
Place the thickest tree at the focal point of the tray. That’s usually just behind the mid line and a little to one side.
A smaller companion can help to make the main trunk look even thicker and more impressive. In this case I have placed it really close to the first tree.
Now place any other thicker trees. Here I have chosen to make a separate clump of trees in this forest so the second tree is further away. A third thick tree is closer to the initial focus tree. Now I can start to add smaller trees around the larger ones. I immediately notice a problem.
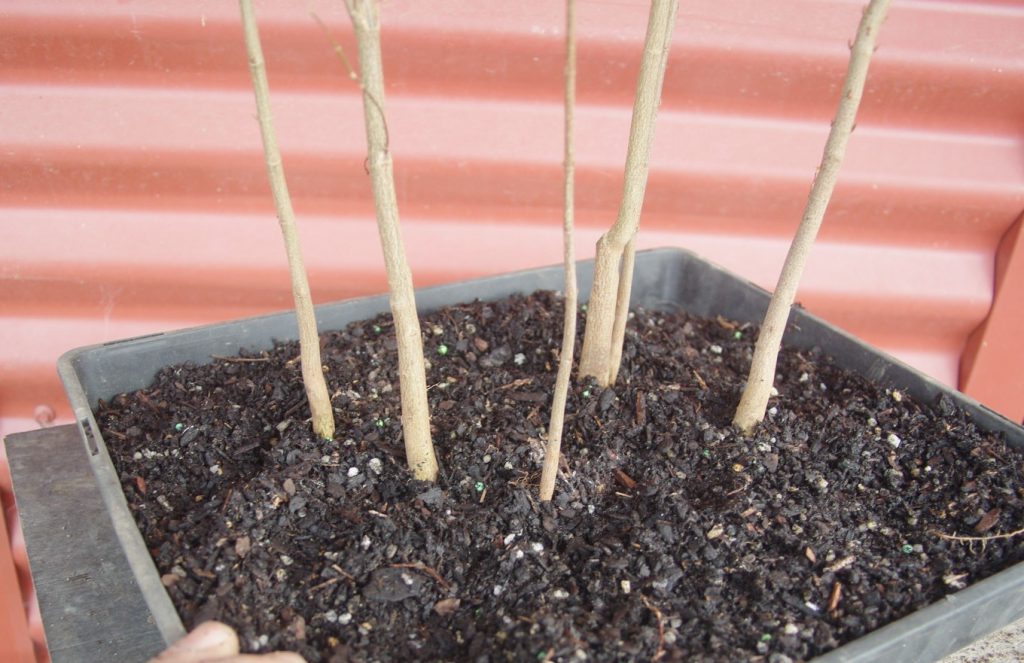
Those 3 trunks are almost equally spaced. Our minds seem to be wired to produce regular shapes and spaces. You really need to concentrate to get a random planting with uneven spaces. It also turns out those 3 trunks are in a straight line so I move one closer and change the position to avoid the equal spacing and the straight lines.
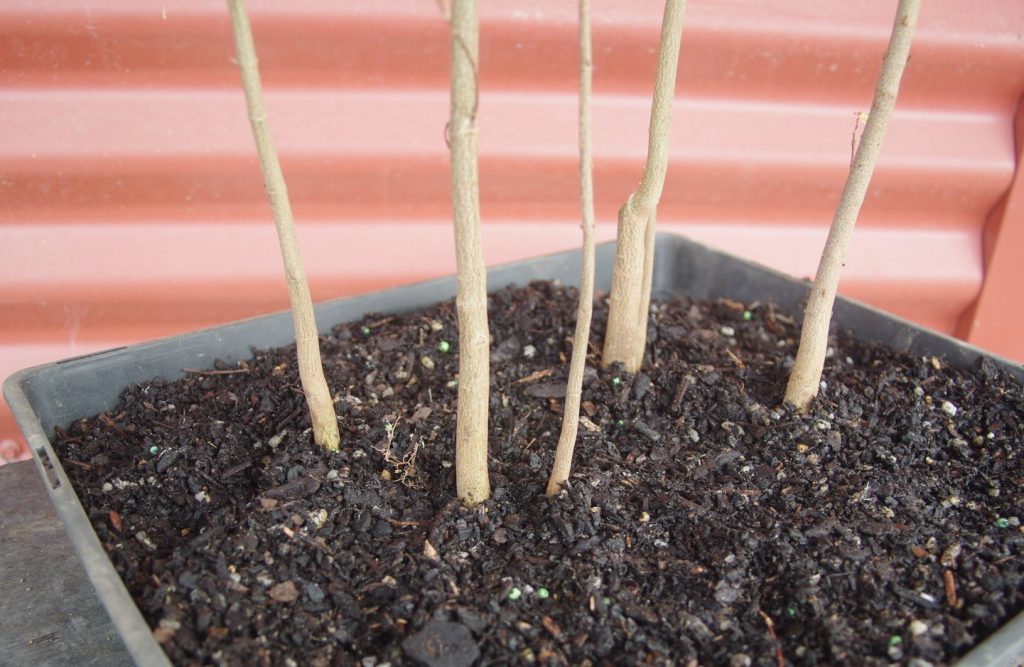
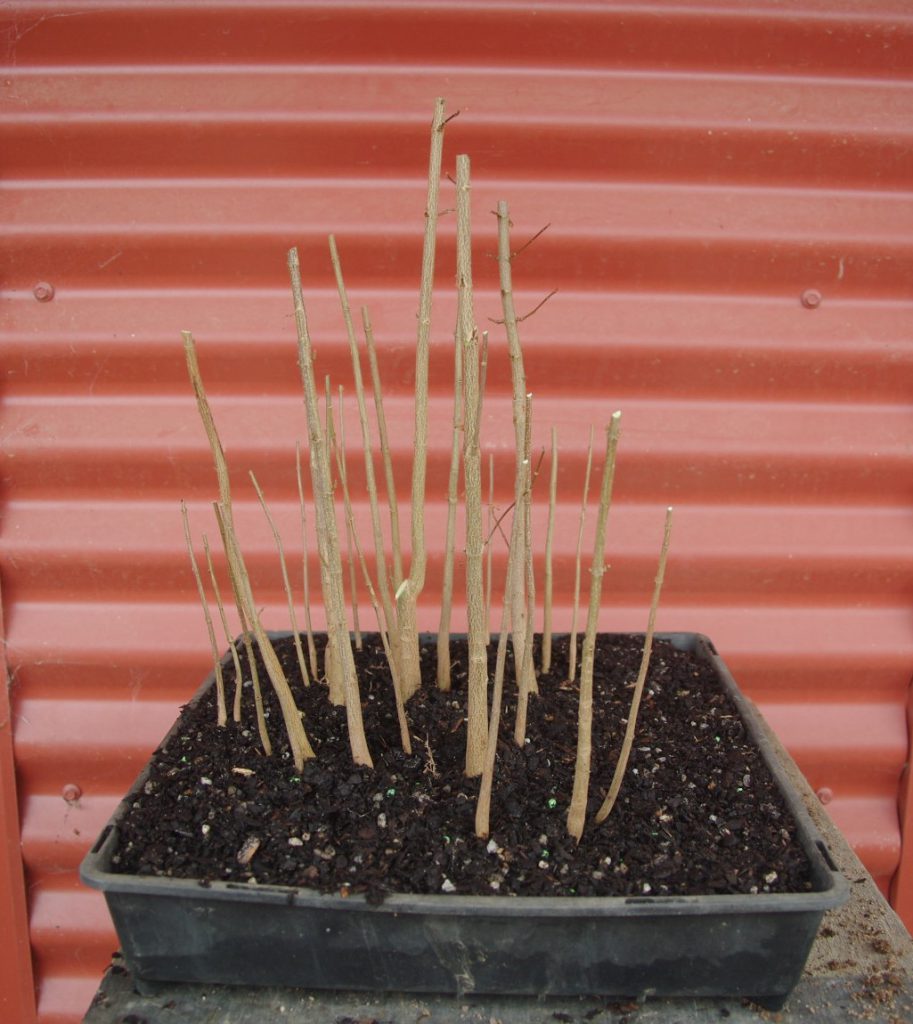
Continue to add more of the smaller trees. most of the smallest ones will be toward the edges and rear of the group to give a sense of perspective (far away things appear to be smaller so, in bonsai, it follows that the thinner trunks appear to be further away). Try to arrange any bends in the trunks so it looks like they grew there. It is natural for trees to grow out and away from larger neighbors so smaller trees will lean away from nearby larger trees.

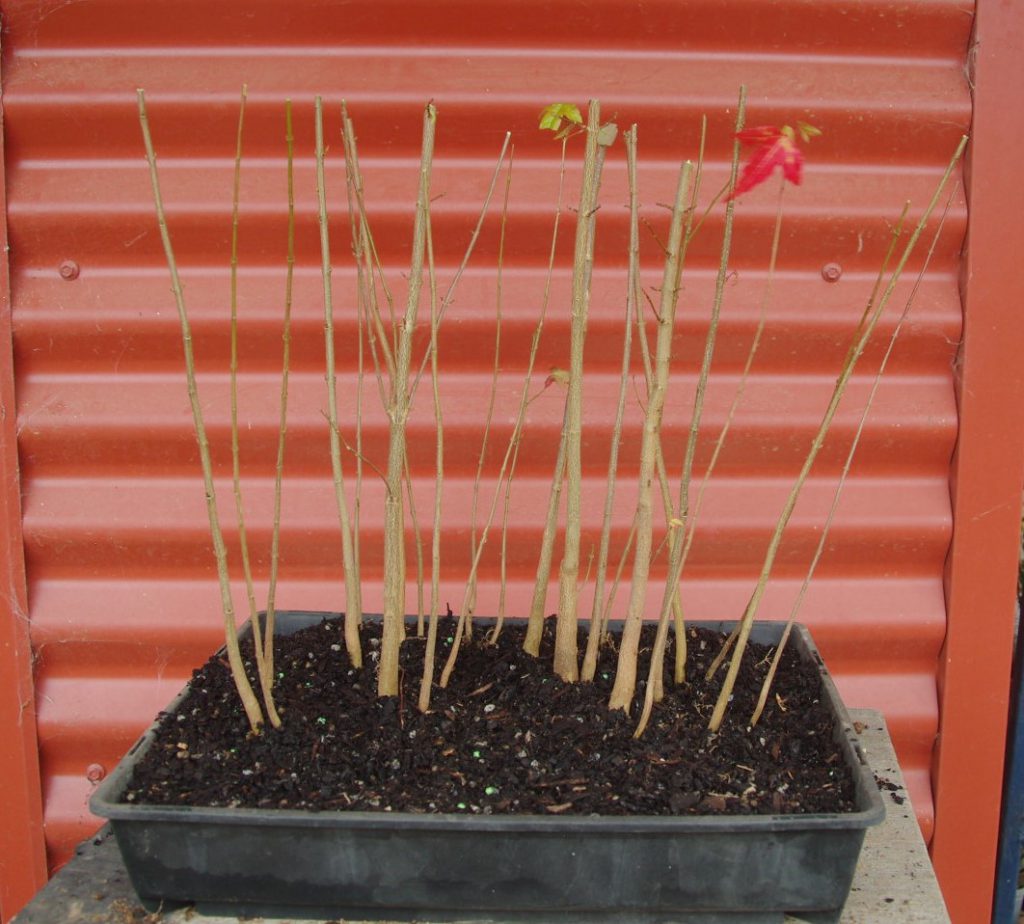
Keep checking that you have managed random spacing. Planting a few trees really close together will add a sense of natural. Also check that you have not ended up with straight lines of trunks – look from the sides as well as from the front. Te arrangement looks good but all the trunks are the same height! The group will look far better when the thinner trees, especially the ones at the sides and rear are shorter (back to perspective again. Distant trees will not only appear thinner but also shorter) so I trim all the trunks to leave the main tree as the tallest in the forest. remember that your trees will grow so this initial trim should leave them all a bit shorter than the final forest height. You may also notice that I have straightened out some of the leaning trunks.
Water your new forest well. Adjust any trunks that have leaned over. Sometimes I need to add a little more potting mix to hold some trees in position until the roots grow in spring. a stone or something similar might be useful if you end up with any recalcitrant ones that just won’t stay put. As the potting mix settles they will begin to stand better and when roots grow early in spring they will definitely stay put.
Place your new forest somewhere safe (outside in full sun is best) for the remainder of winter. Water as required and check every now and again to make sure all the trunks are still at the planned angle until those new roots start to stabilize the trees. You can still make minor adjustments up to, and even after, the trees leaf out.
Shibui bonsai can supply trident seedlings suitable for group plantings. $20 gets a pack of assorted trunk thicknesses selected for group planting. Delivery charges will apply.