
Spring is rapidly approaching at Shibui bonsai nursery. Some of the Chinese elms already have tiny green shoots opening so the trident maples can’t be far away from starting to grow too. That means I need to get on with any jobs that involve root work.
Making new root over rock plantings is one of those jobs, so this week I emptied out a polystyrene box of last year’s trident seedlings to select some candidates for new root over rock plantings.
Raw seedlings rarely have enough roots to wrap over the rocks so I prepare for root over rock plantings a year ahead. I take one year old seedlings and cut the thickest root so the seedling now has just a couple of lateral roots then plant it into a deeper container to grow for another year. Because I do a few of these each year and because it is good to have some choice to get the best match af tree and rock I usually put a few trees into the box.
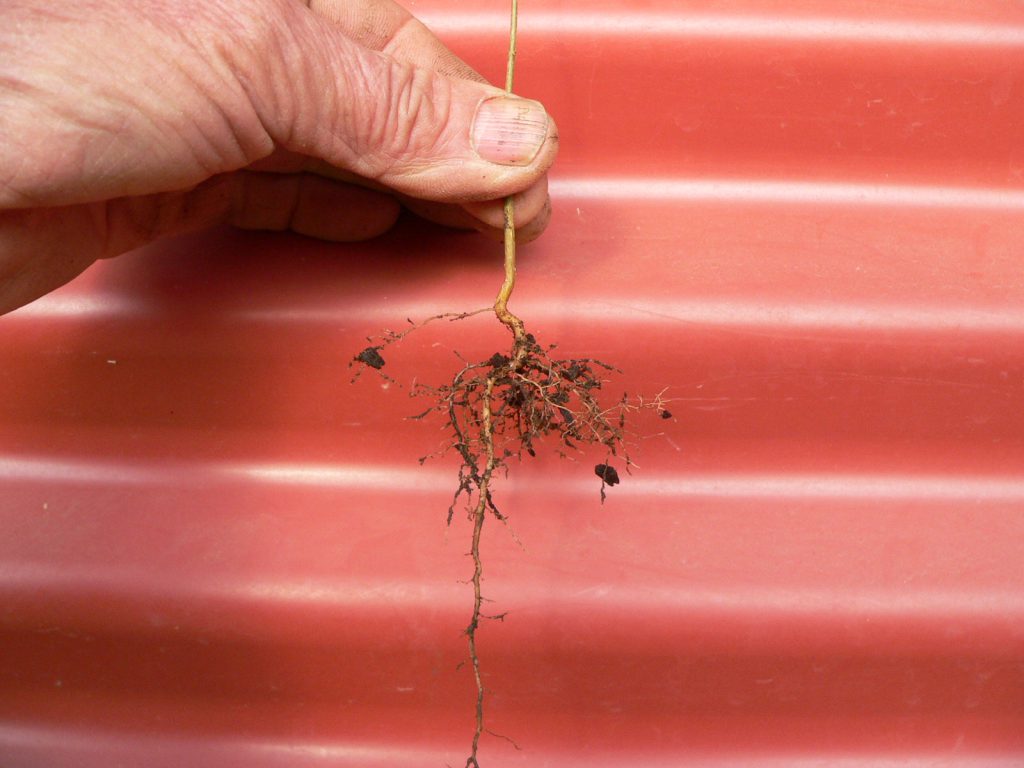

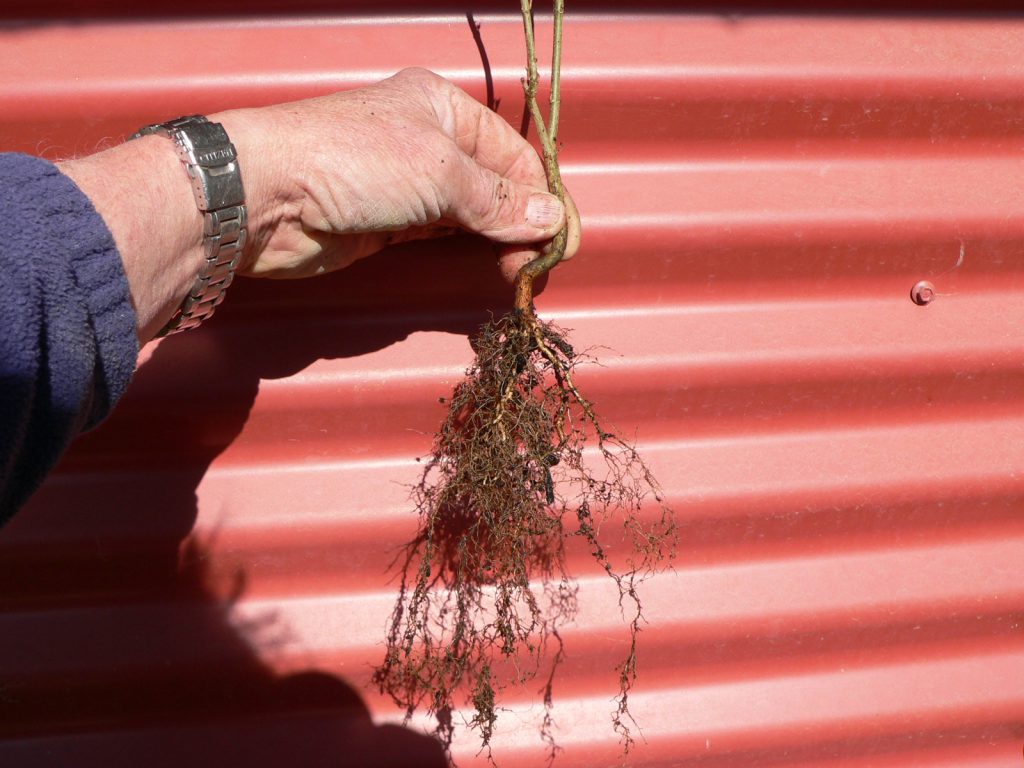
With some care and a little luck I end up with a bunch of seedlings with lots of long roots. Perfect for starting root over rock bonsai.
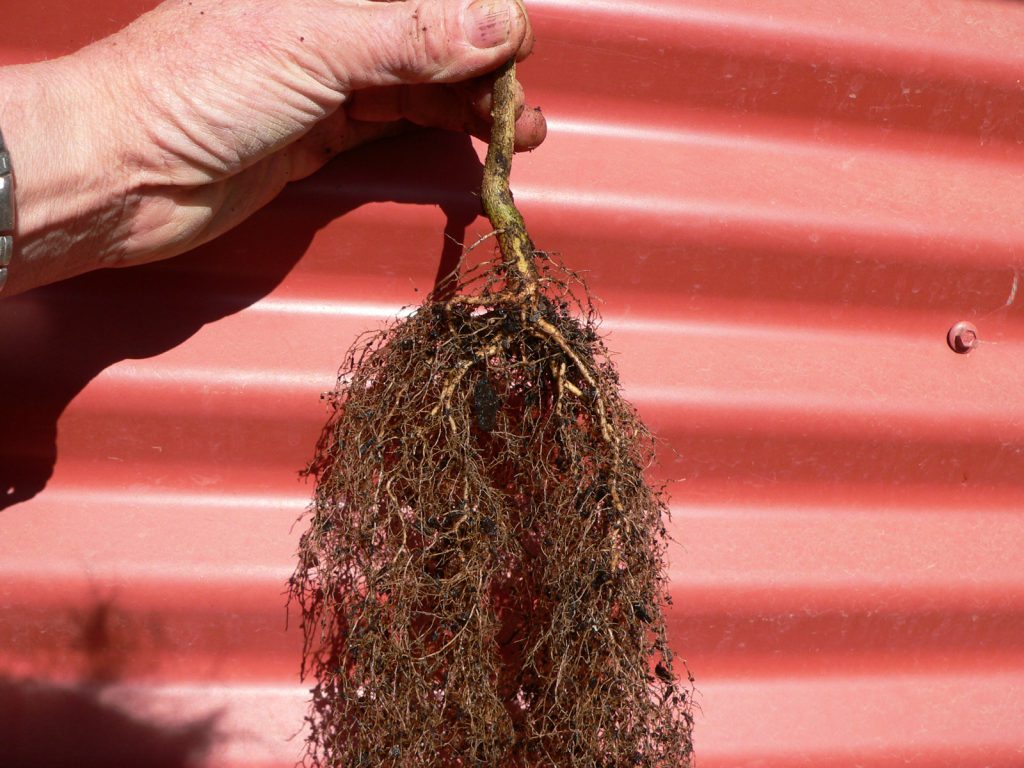
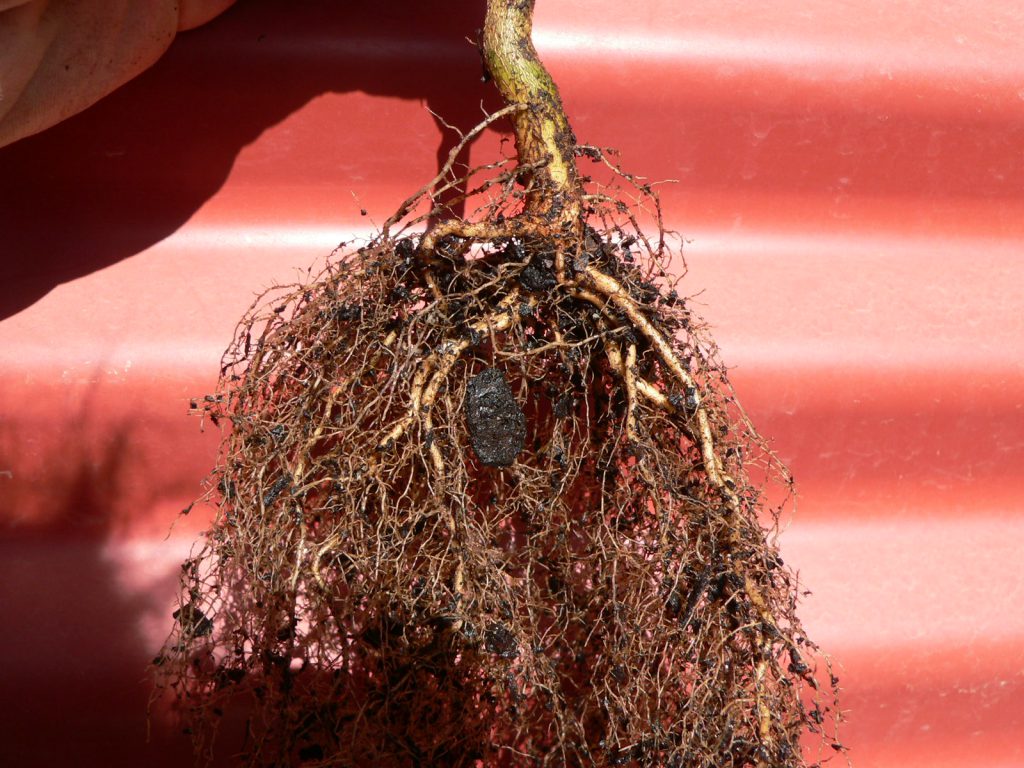
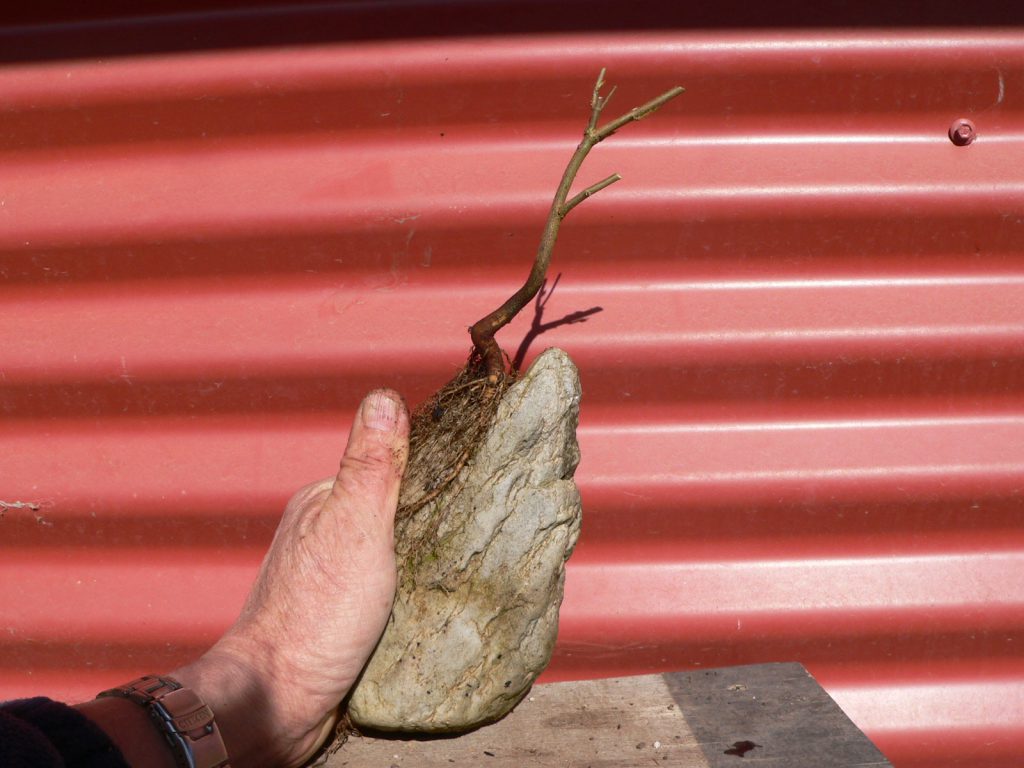
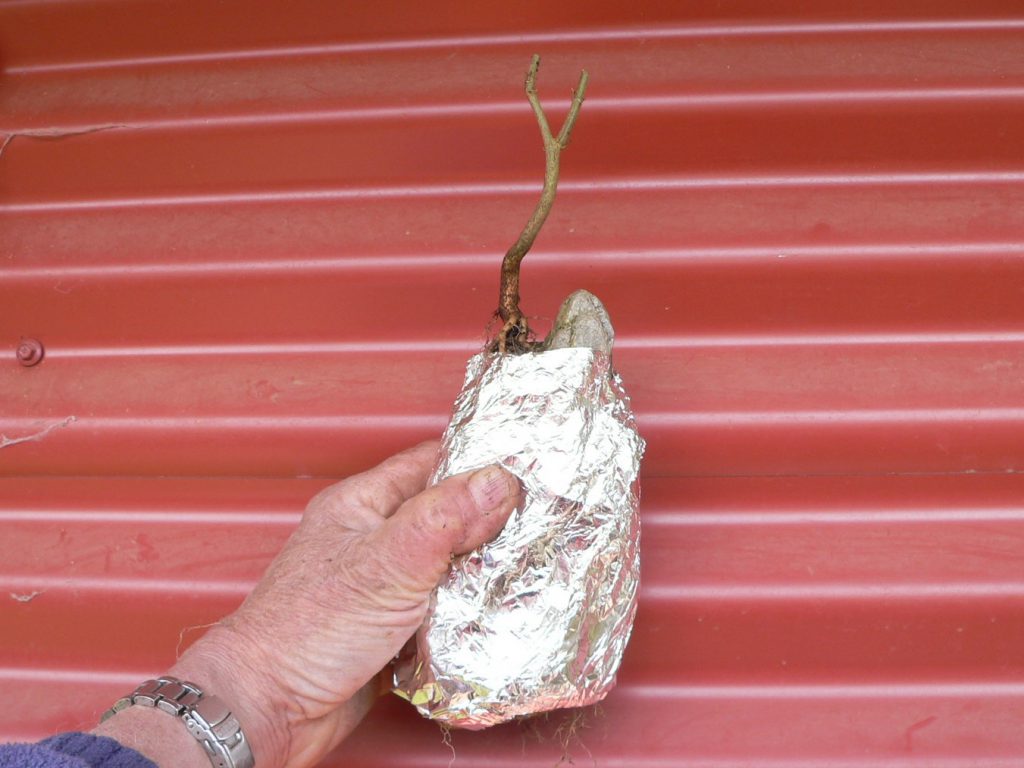
There will probably also be some that are not so good. This one has one really thick root that will make it quite difficult to sit properly on the rock.
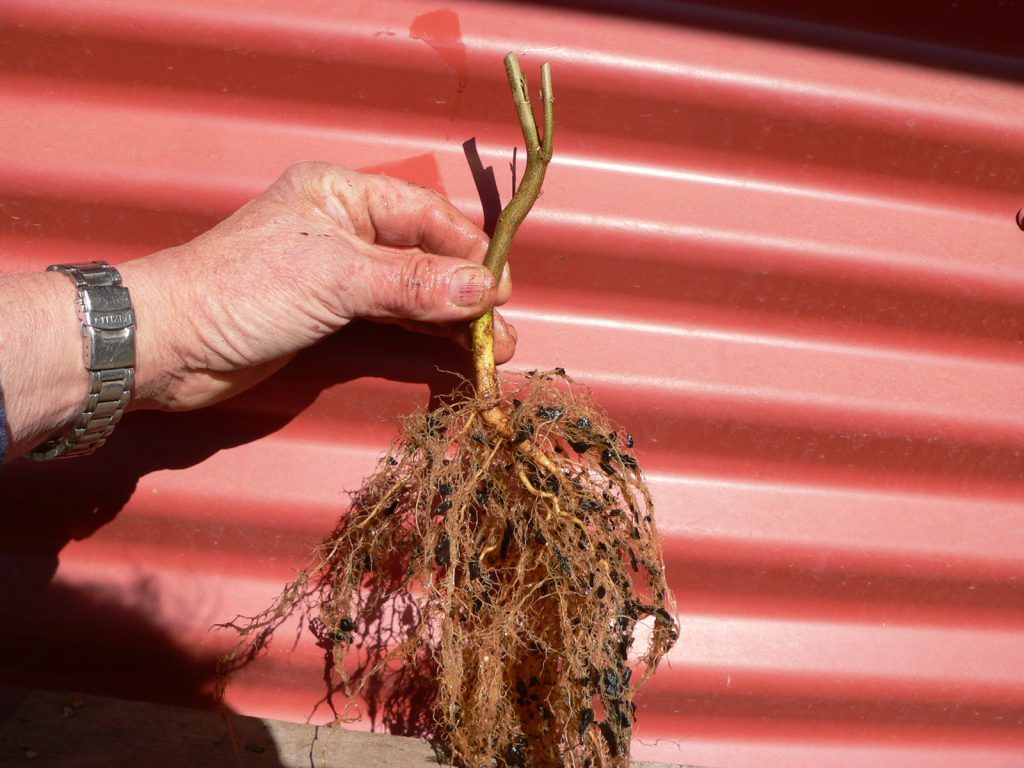
I can prune those roots back hard and plant that one as a normal starter tree.
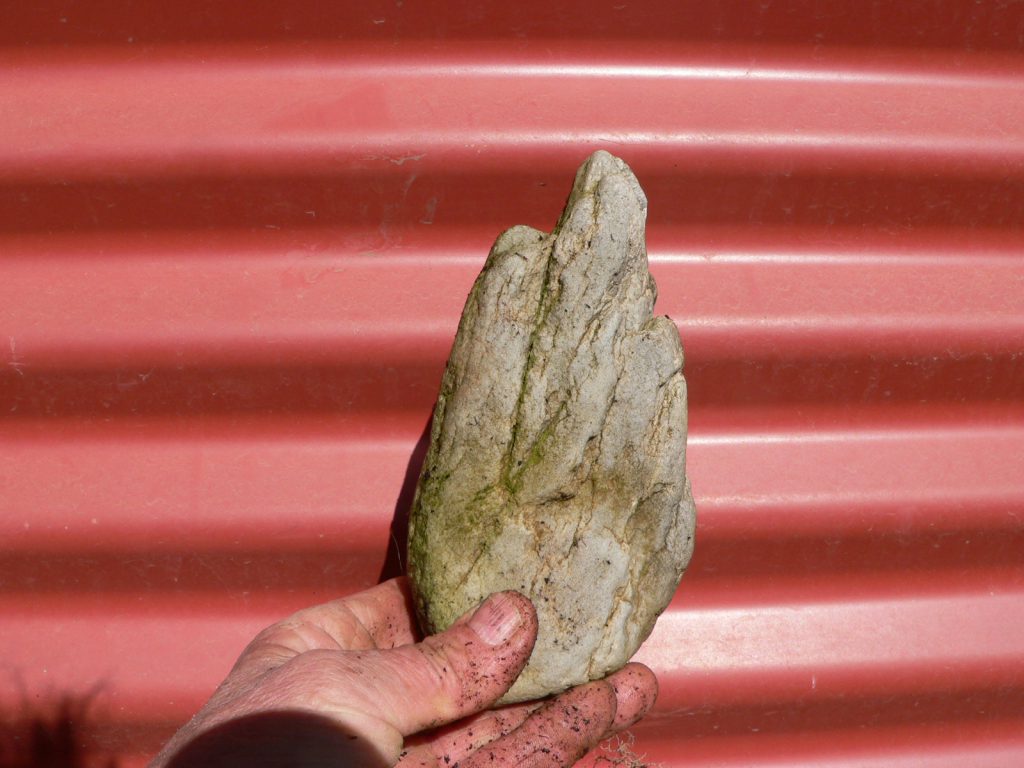
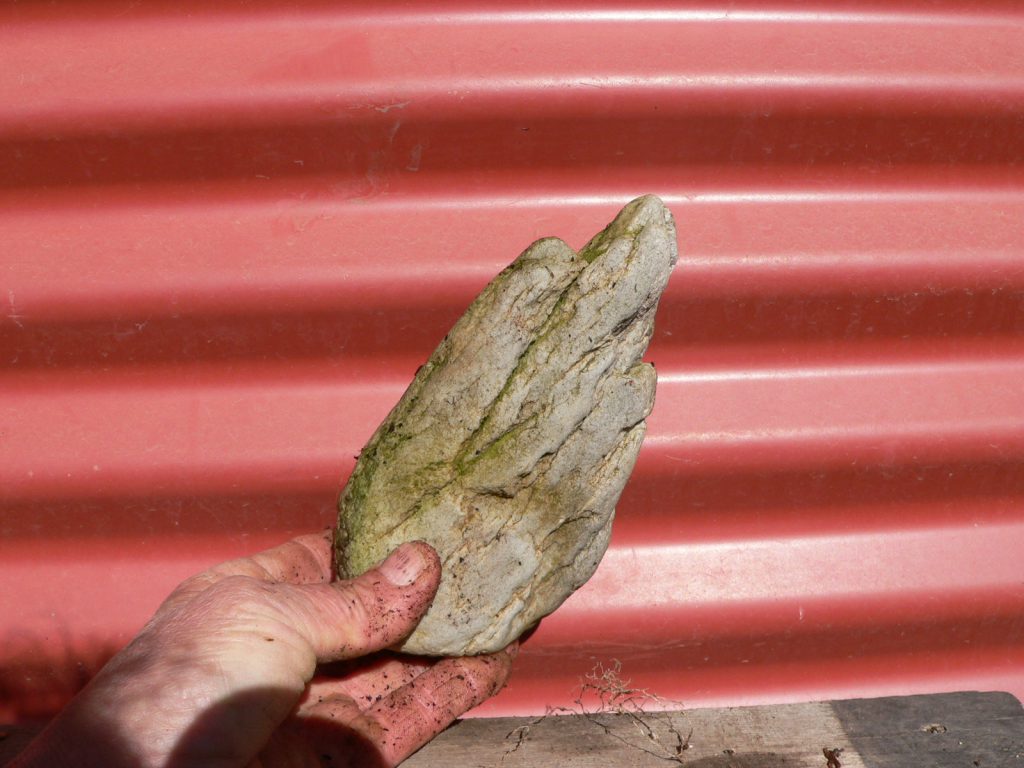
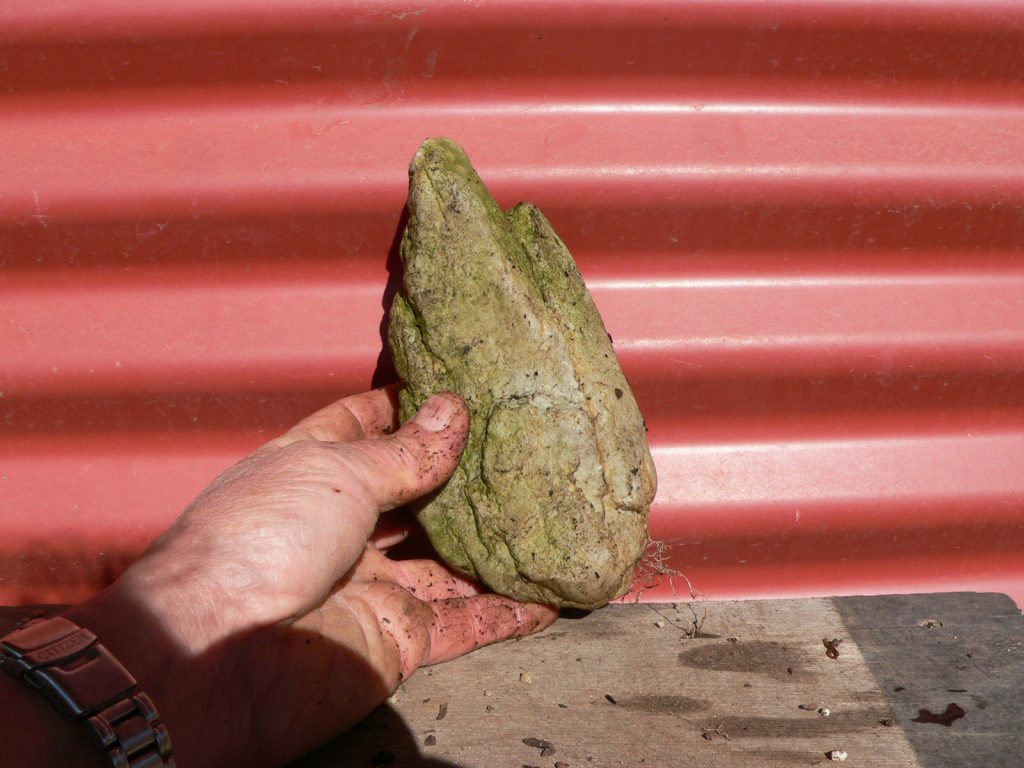
Now I need to look at the rocks. Not all rocks are good for Root over Rock bonsai. The best rocks have some character – peaks, hollows and shoulders. Avoid rocks that are likely to weather and break up as they age. No point putting time and effort into a root over rock arrangement if the rock falls apart before the tree matures!
Look at the rock from all sides to identify the best aspects and shape. Rocks can be upright like a mountainside or horizontal. Find some spots where the tree will sit well and roots will look good running down the surface. It will help the matching process if you have several rocks and a number of trees. Often the shape of the trunk and roots means a tree just won’t sit well on a particular rock but another tree may just be the right sahpe for that one. Soak the rocks in a tub of water. Dry rocks will suck any moisture out of the fine roots as you arrange them on the rock.
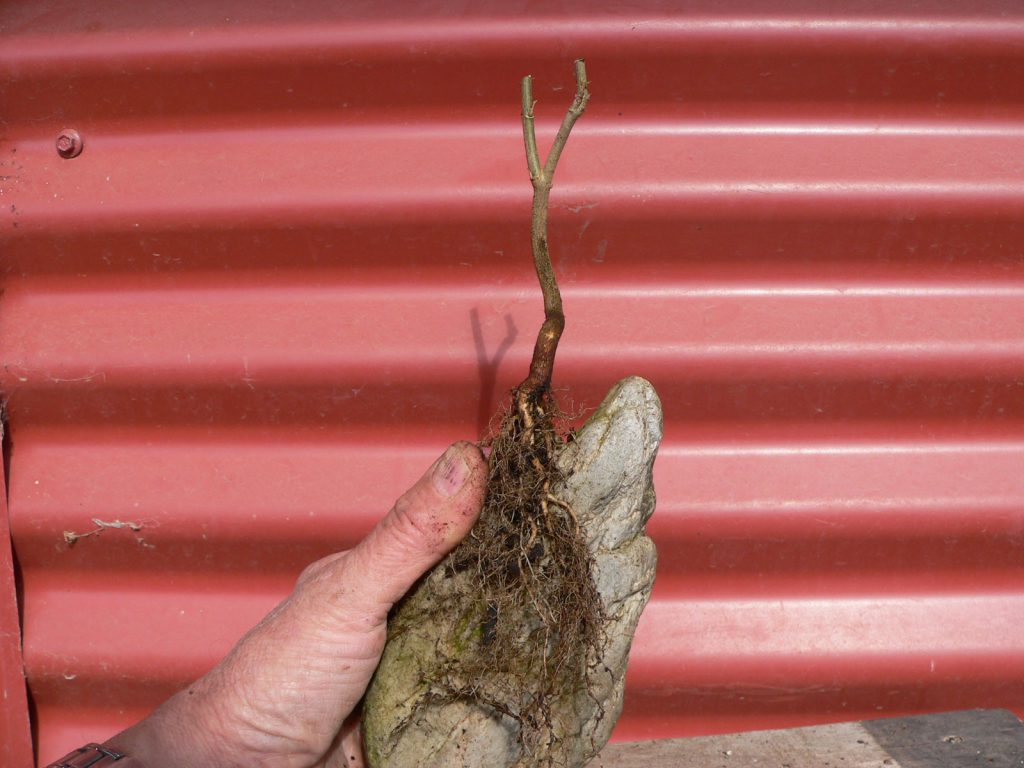
Now to match the tree and rock. Aesthetically, the rock will provide the visual weight for the composition. That’s where the viewer’s eye will start, then follow along the rock and on through the trunk of the tree so it is important to have good angles and visual flow where the trunk sits on the rock. Roots flowing along the same lines rather than across will also help the design.
Try a few trees in a few positions on the rock looking for the best arrangement. At this stage I’m really only looking at the angle between the rock and the first section of the trunk. It may help to try to imagine a future canopy above the rock. Will the tree and rock harmonise or compete? Do the roots allow the base of the tree to sit well at the desired angle on the rock? Sometimes just cutting 1 or 2 roots will allow the tree to sit better.
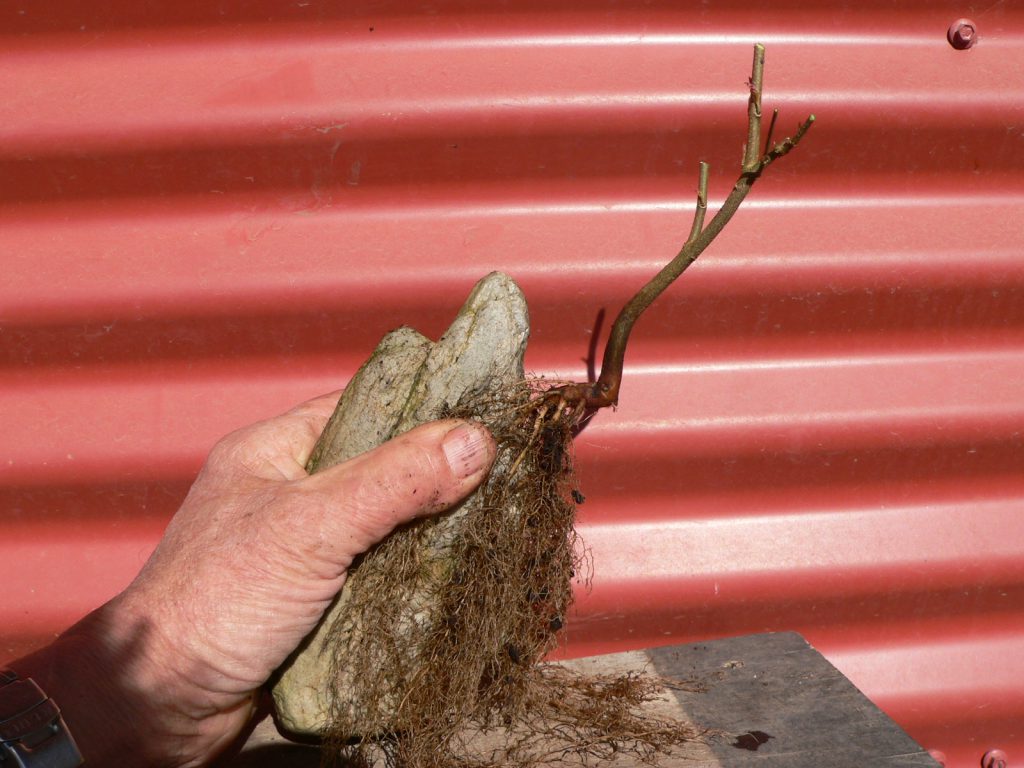

Now arrange the long roots over the surfaces of the rock. It is important to have roots right round the rock. Some down the front and some down the back so as they grow they will really hug the rock tight. At this stage try to avoid straight root runs which don’t look good when the roots have thickened. Roots that twist and meander over the rock following crevices and hollows look more natural and interesting. Bear in mind the visual flow of the rock and try to arrange roots to enhance the flow rather than cross it.
Prepare a length of aluminium foil. It needs to be long enough to wrap around the rock 2 or 3 times. Unless you have selected a really tall rock the foil will be way too wide. For most of my rocks I fold the foil in half lengthwise but for taller rocks you may just need to fold 1/4 or 1/3 down so that the lenght of foil is now as wide as the root part of your rock is tall.
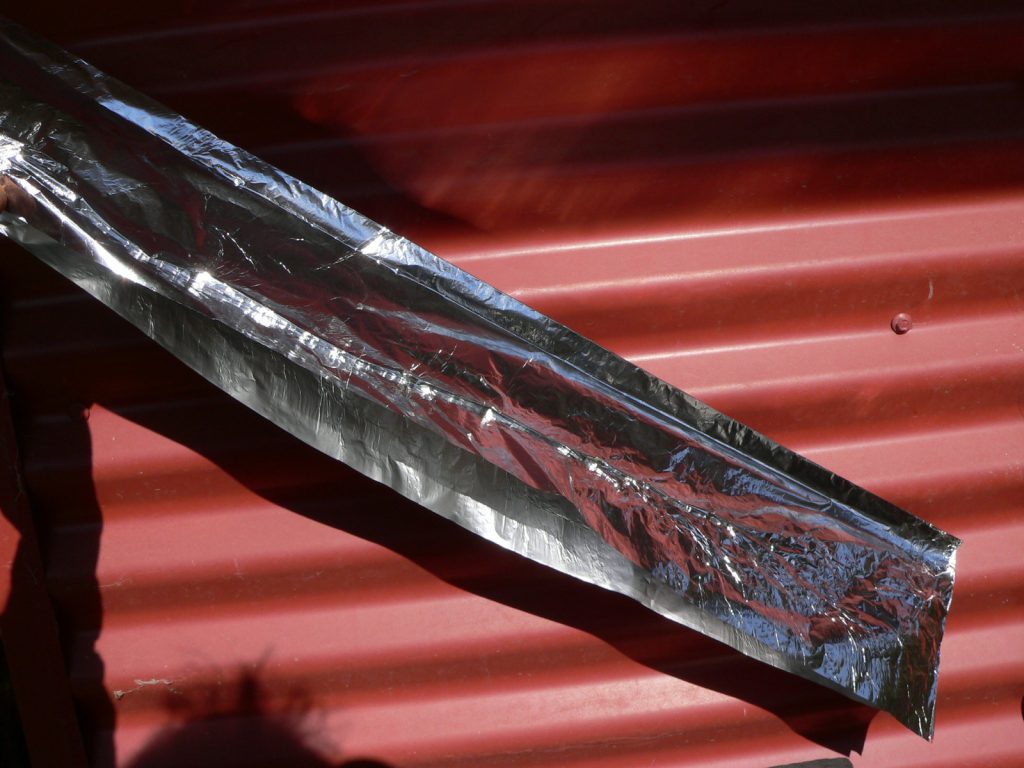
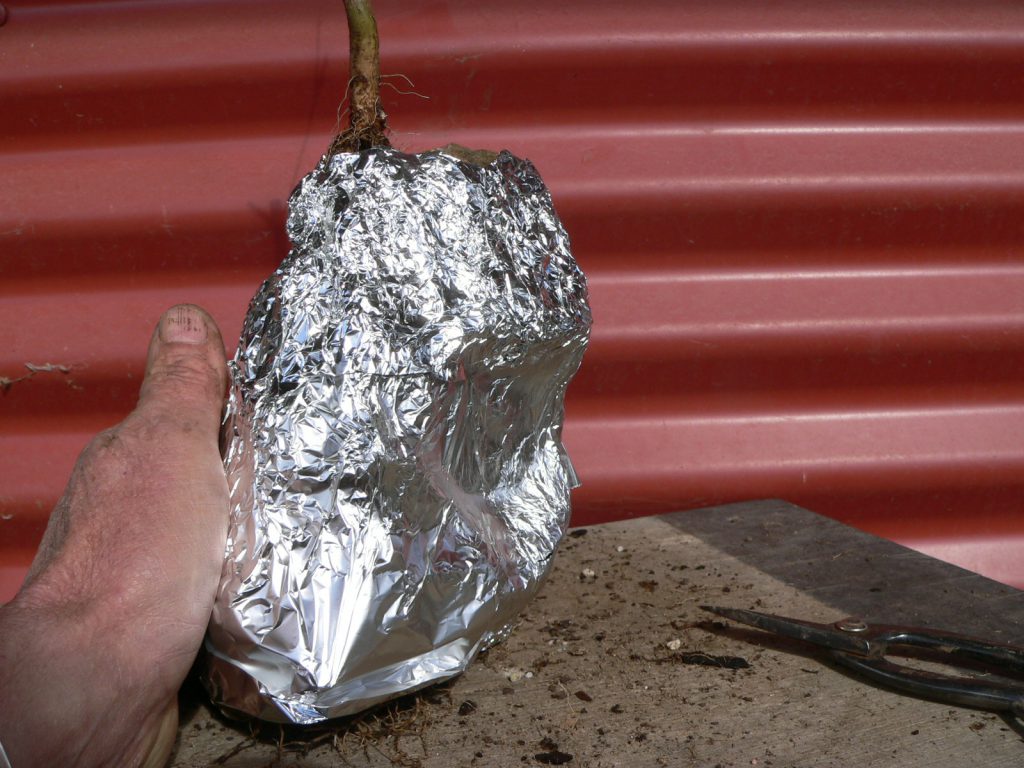
The next part may require some practice or another pair of hands. Sit the tree in place and position the roots on one side of the rock while laying it onto the foil. Cradle the foil and rock in one hand. The weight of the rock should now hold thos eroots in place. use your free hand to position the next roots and fold the foil over to secure them. Continue to position roots and trap them in place as you roll the foil round the rock until you wrap right round the rock. Make sure the foil is pressed into all hollows as you go so that roots are pressed right up against all surfaces of the rock. Continue to wrap the foil round and round until you have 3 or 4 thicknesses holding the roots in place.
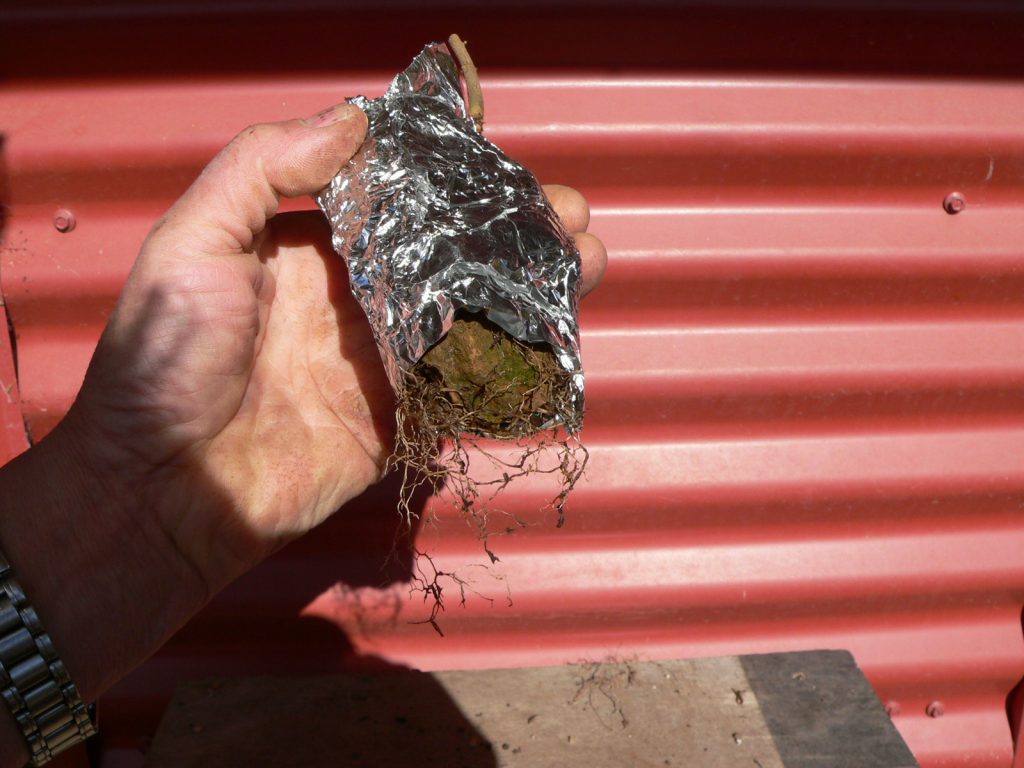
Don’t worry if there are no roots showing out the bottom opening. Water can run in the top to keep the roots alive. sooner or later they will grow long enough to appear at the bottom of the rock. The beauty of the foil is that any new roots must grow right along the surface of the rock which is ideal for root over rock style bonsai.
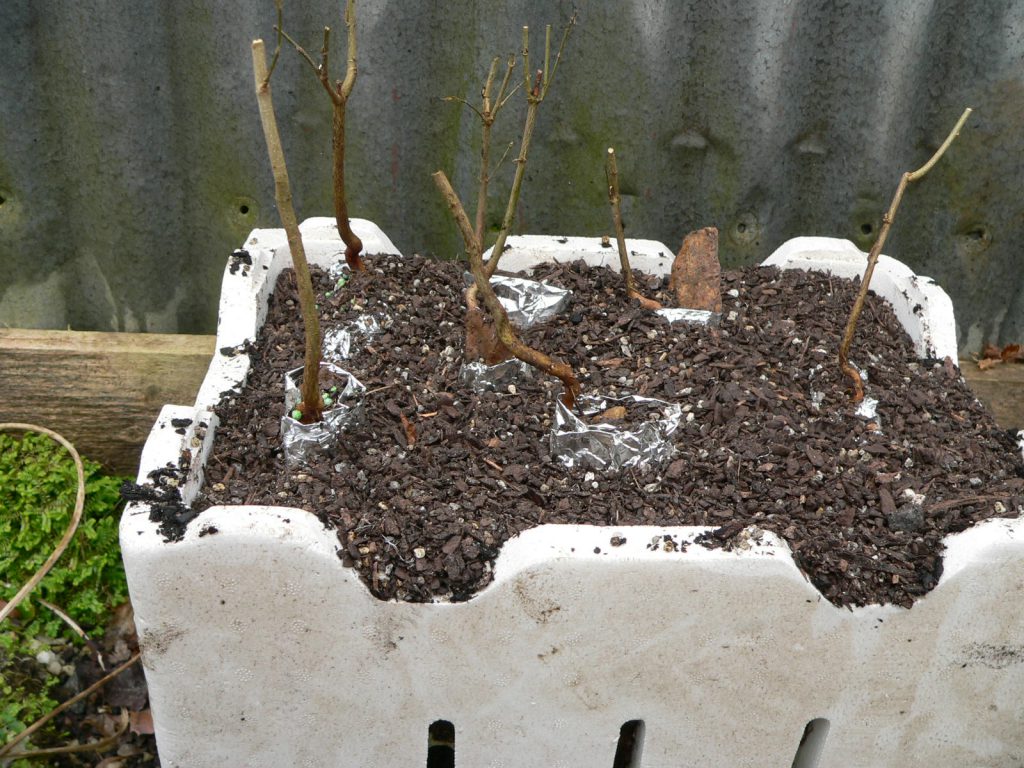
Pour some water into the top opening to make sure the roots are still damp then plant the foil covered rock into a deep container and fill it with potting mix right up to the top of the foil. The pressure of soil against the foil will help press the roots closer to the rock as they grow.
Feed and water well all through the growing season and allow the top to grow freely to maximise root development.